
NSFW AI Image Prompts: How to Control Character, Pose, and Style
Writing effective NSFW AI image prompts is less about adding more descriptive words and more about giving each instruction a clear job. The generator needs to understand who the character is, what she is doing, what the camera can see, where the scene takes place, and how the final image should look.
This guide provides a reusable prompt structure for nsfw characters. You can keep the parts that work, edit the parts that do not, and create related images without rebuilding every prompt from the beginning.
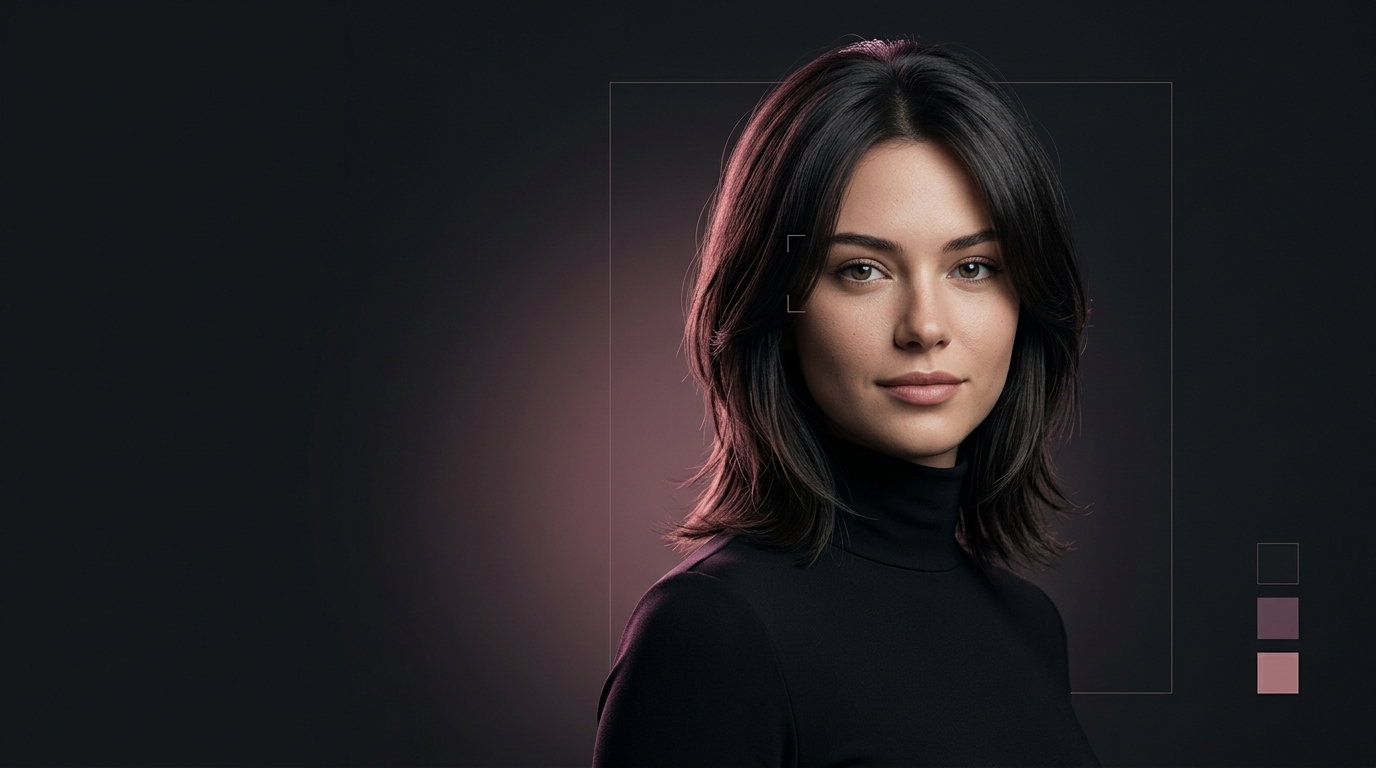
Quick Answer: How Should You Structure an NSFW AI Image Prompt?
A practical NSFW AI image prompt can be divided into five blocks:
Character + Pose + Framing + Setting + Lighting and Style
The character block defines the person. The pose block controls the visible body position. Framing determines how much of the character appears in the image. Setting establishes the environment, while lighting and style determine the final visual treatment.
Keep these blocks separate and change only one or two at a time. If the character looks right but the pose is wrong, edit the pose instead of rewriting the entire prompt.
If you do not want to write every detail manually, you can select existing character, pose, clothing, and scene options with the Image Generator from Tags
Build the Prompt in Five Editable Blocks
Treat the prompt as a group of editable instructions rather than one long sentence. This makes it easier to understand which part produced a visible result.
1. Define the Character
Start with one fictional character who is clearly described as being over 18. Include only the details that should remain recognizable across multiple images:
Age presentation
Face shape and a few facial features
Hair color, length, and style
General body proportions
One or two persistent styling details
For example:
28-year-old woman, heart-shaped face, brown eyes, long wavy auburn hair, athletic proportions, burgundy lace bodysuit
This is more useful than combining ten vague adjectives such as “perfect,” “beautiful,” “stunning,” and “seductive.” Those words communicate mood, but they do not clearly define the character’s visible identity.
2. Describe a Visible Pose
A pose instruction should explain where the body is and what its major parts are doing.
Compare these two instructions:
sexy pose
seated on the edge of the bed, torso turned slightly toward the camera, one hand resting beside her, one knee raised
The second version gives the generator visible spatial relationships. It does not guarantee perfect anatomy, but it provides a clearer target.
Avoid describing several major actions at once. A character cannot easily sit, turn around, lean forward, raise both arms, and walk toward the camera in the same image.
3. Choose the Framing
Framing determines which parts of the pose can actually appear:
Close-up: face, expression, eye contact, makeup, and intimate portrait lighting
Medium shot: torso position, seated poses, clothing state, shoulders, and hands
Three-quarter shot: hips, upper legs, wider poses, and interactions with furniture
Full-body shot: standing poses, leg position, complete silhouette, and larger body movement
Choose the framing before adding detailed body instructions. A close-up cannot clearly show a full-body pose, regardless of how often the pose is repeated.
4. Establish One Setting
Use one readable environment with a small number of supporting details:
private bedroom, dark bedding, curtains in the background
This is usually stronger than asking for a bedroom, luxury hotel, neon nightclub, photography studio, and beach at the same time.
The setting should support the character instead of competing with her. If the image is mainly about pose or identity, keep the background relatively simple.
5. Separate Lighting from Style
Lighting describes how the scene is illuminated:
Soft window light
Warm bedside lighting
Diffused studio light
Low-key side lighting
Colored neon rim light
Style describes the intended visual treatment:
Photorealistic photography
Natural skin texture
Cinematic realism
Polished anime illustration
Soft cel shading
A complete prompt could read:
28-year-old woman with a heart-shaped face, brown eyes, long wavy auburn hair, athletic proportions, and a burgundy lace bodysuit; seated on the edge of a bed with her torso turned slightly toward the camera, one hand resting beside her, and one knee raised; three-quarter medium shot; private bedroom with dark bedding and curtains in the background; soft warm side lighting, natural skin texture, cinematic photography
The semicolons are not mandatory. They simply make each prompt block easier to identify and edit.
Keep the Character Block Stable Across Multiple Images
When creating a set, reuse the same character description without rewriting it in different language. Changing “long wavy auburn hair” to “shoulder-length red hair,” for example, may seem harmless but introduces a different visual instruction.
Keep the character block fixed, then change the pose, framing, setting, or lighting and style according to the next image you want.
Fixed character block:
28-year-old woman, heart-shaped face, brown eyes, long wavy auburn hair, athletic proportions, burgundy lace bodysuit
Changeable prompt blocks:
direct eye contact; close-up portrait; soft window light
seated with one leg crossed; three-quarter shot; private bedroom; warm bedside lighting
standing with her weight shifted to one side; full-body shot; private studio; diffused side lighting
Prompt consistency can reduce unnecessary variation, but it cannot guarantee an identical face in every generation. For stronger continuity across images and video, use an approved reference image as the identity anchor.
Match the Pose to the Framing
Pose and framing should be planned together. If hands are important, the frame must include them. If the complete silhouette matters, use a full-body composition. If the goal is facial expression and eye contact, a close-up gives those details more visual space.
This matters especially in NSFW images because clothing boundaries, overlapping limbs, hand placement, and body proportions need to remain readable. When too many body parts overlap, the model has to interpret more hidden spatial information.
For a more controllable first attempt:
Use a stable seated or standing position.
Keep both hands visible or give each hand one clear location.
Avoid extreme camera angles.
Do not combine a tightly cropped portrait with full-body instructions.
Add complicated body contact only after the simpler composition works.
For photorealistic character images, begin with a clear pose and camera distance in the Real Girl Generator, then refine the setting and visual treatment.
Close-Up:取景框从头顶覆盖到胸部上方。使用粉色边框,并从边框向右连接标注文字:Best for: Face · Eye Contact · Expression · Makeup。
Medium Shot:取景框从头顶覆盖到髋部。使用橙色边框,并向右连接标注文字:Best for: Torso Position · Shoulders · Hands · Clothing State。
Full Body:取景框覆盖人物从头顶到脚部的完整身体。使用蓝色边框,并向右连接标注文字:Best for: Standing Pose · Legs · Complete Silhouette。
三个取景框由内到外叠加在同一个人物轮廓上,边框颜色和右侧对应说明保持一致。图片顶部标题使用 Match the Framing to the Intended Image,底部增加一句 The body area described in the prompt must remain inside the selected frame. 不制作三张独立人物图片,也不要添加卧室、摄影棚或其他场景背景。】
Write Setting, Lighting, and Style as Separate Decisions
Setting, lighting, and style affect different parts of the result.
The setting answers where the character is. Lighting answers how the scene is illuminated. Style answers what kind of image the generator should produce.
Instead of writing:
beautiful cinematic realistic professional high-quality lighting
Use concrete visual information:
warm bedside lamp from the left, soft shadows across the body, realistic skin texture, shallow depth of field
The second version describes visible conditions. It also makes revision easier. If the scene is too dark, you can change the light direction or intensity without touching the character and pose.
Realistic and Anime Prompts Need Different Visual Language
A realistic prompt should resemble photography direction. Describe light source, camera distance, skin texture, environment, depth of field, and physically readable posture.
For example:
medium shot, natural skin texture, soft window light, realistic bedroom photography, subtle depth of field
An anime prompt should describe illustration qualities instead:
medium shot, expressive eyes, clean linework, detailed anime character design, soft cel shading, warm illustrated bedroom background
Simply replacing photorealistic with anime may leave conflicting photographic instructions in the prompt. Keep the character and scene concept, but rewrite the visual treatment for the intended medium.
Users creating illustrated characters can test anime-specific visual language and available style options in the Anime Girl Generator.
When the Result Is Wrong, Edit the Relevant Block
Do not automatically make the entire prompt longer after a failed result. First identify which visible part is wrong.
| Visible problem | Block to edit | What to change |
|---|---|---|
| The character looks different | Character | Restore the original face, hair, and body description |
| The body position is unclear | Pose | Use fewer actions and define limb placement |
| Hands or legs are cropped | Framing | Select a wider camera distance |
| The background dominates the image | Setting | Remove unnecessary objects and environments |
| Skin looks plastic | Lighting and Style | Reduce glossy language and specify natural texture |
| Important details are ignored | Entire prompt | Remove repeated or conflicting instructions |
Preserve successful blocks. If the character and pose are correct but the lighting is too harsh, only change the lighting instruction. This creates a controlled revision instead of asking the generator to reinterpret the entire image.
When several elements fail together, simplify the composition. Start with one character, one pose, one setting, and one primary light source. Additional details can be restored after the basic image is stable.
Write the Prompt Yourself or Generate from Tags
Writing the full prompt is useful when you already know the exact character, pose, framing, and visual treatment you want.
If you know the desired result but are unsure how to describe it, start with selectable tags. Choose the character, clothing, pose, scene, and other available attributes, generate a foundation image, and then refine the details.
The two methods serve the same goal. Free-form prompting offers more direct language control, while tag-based generationreduces the difficulty of starting from a blank input.
Turn an Approved Image into Video
Once the character, pose, and composition are approved, the finished image can become the starting frame for an image-to-video workflow.
Do not paste the entire image prompt into the video prompt. The image already contains the character, clothing, setting, and framing. Use the video prompt to describe motion, camera behavior, pacing, and the details that should remain stable.
Build a Prompt You Can Edit
The best NSFW AI image prompt is not necessarily the longest one. It is the one you can understand and revise.
Define the character once, match the pose to the framing, keep the setting readable, and separate lighting from style. When the result is wrong, change the block responsible for the problem instead of rebuilding everything.