
Quick Answer: How Do You Make a Huangguo-Style NSFW AI Short Drama?
A Huangguo-style NSFW AI short drama is produced shot by shot rather than as one continuous AI generation. Use AINSFW.AI to create recurring-character images, shot-ready keyframes, and short image-to-video, text-to-video, or reference-to-video assets. Then combine those assets with dialogue, sound, subtitles, continuity work, and final 9:16 editing.
Before generating video, lock the story, character identity, recurring locations, and purpose of each shot. Approve the starting image before adding motion, choose the generation method according to the shot, and review every clip as one controlled part of the episode.
What Is Huangguo AI Short Drama?
Huangguo is an NSFW AI short-drama platform built around serialized AI-generated stories rather than isolated clips. Its official telegram channel has attracted more than 33,000 subscribers, showing that serialized NSFW AI drama already has a sizable audience.
Its catalog includes urban stories, fantasy, suspense, relationship-driven plots, and other mature short-drama formats. This variety shows why Huangguo-style production depends on more than generating visually attractive scenes: characters, locations, story progression, and episode continuity must remain connected from shot to shot.
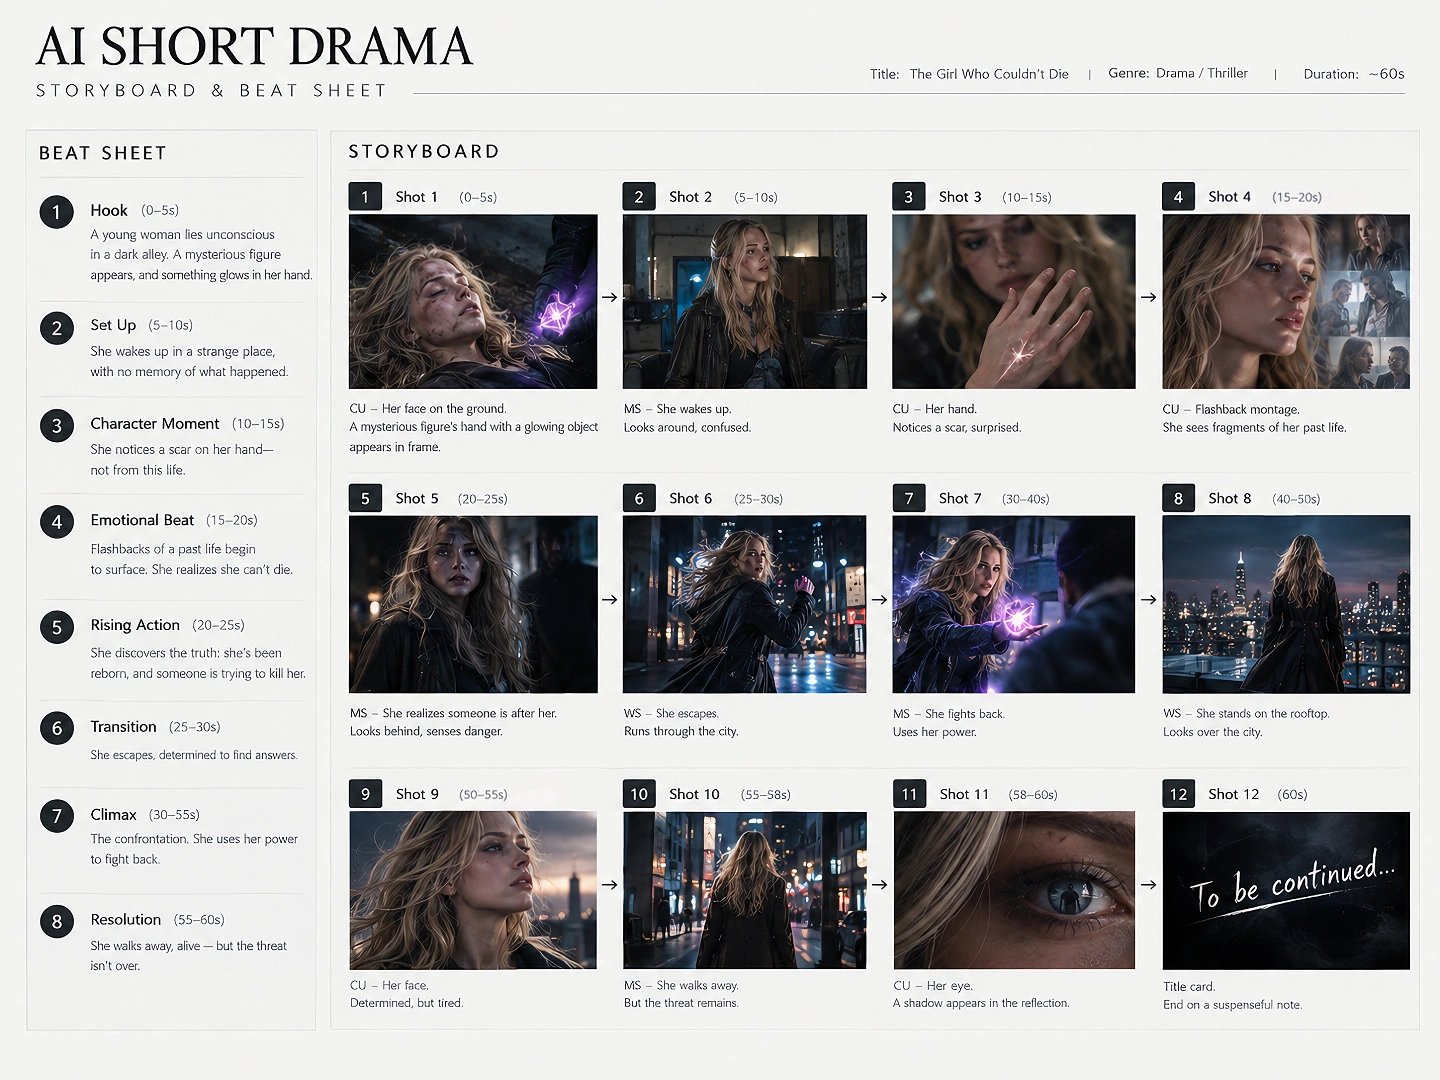
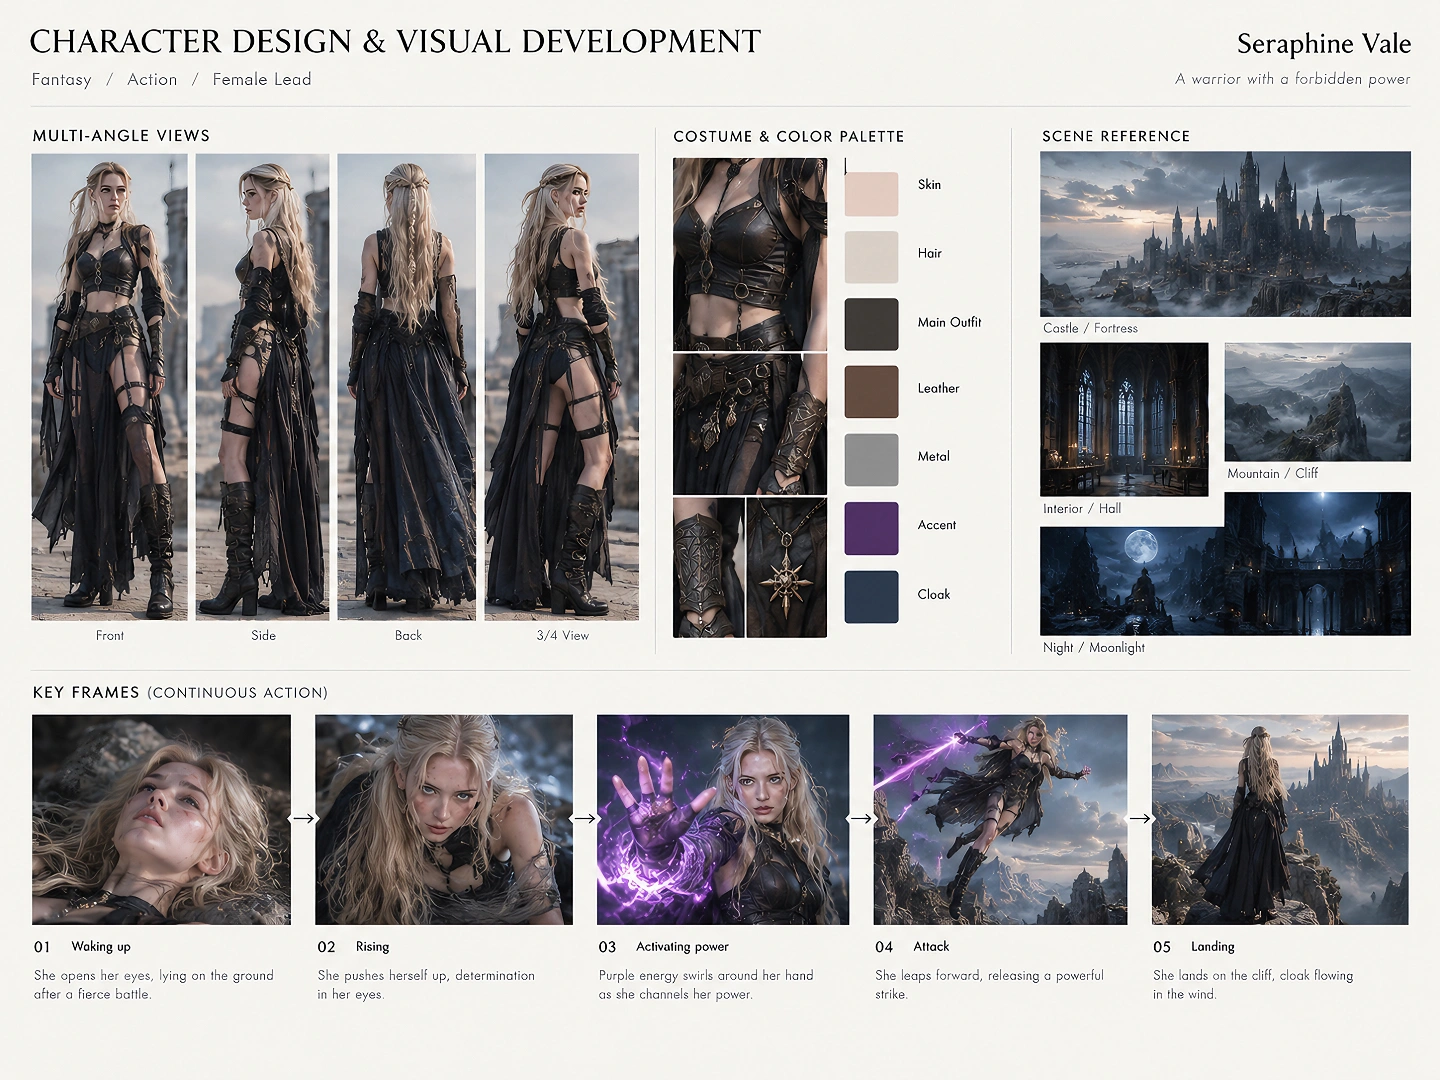
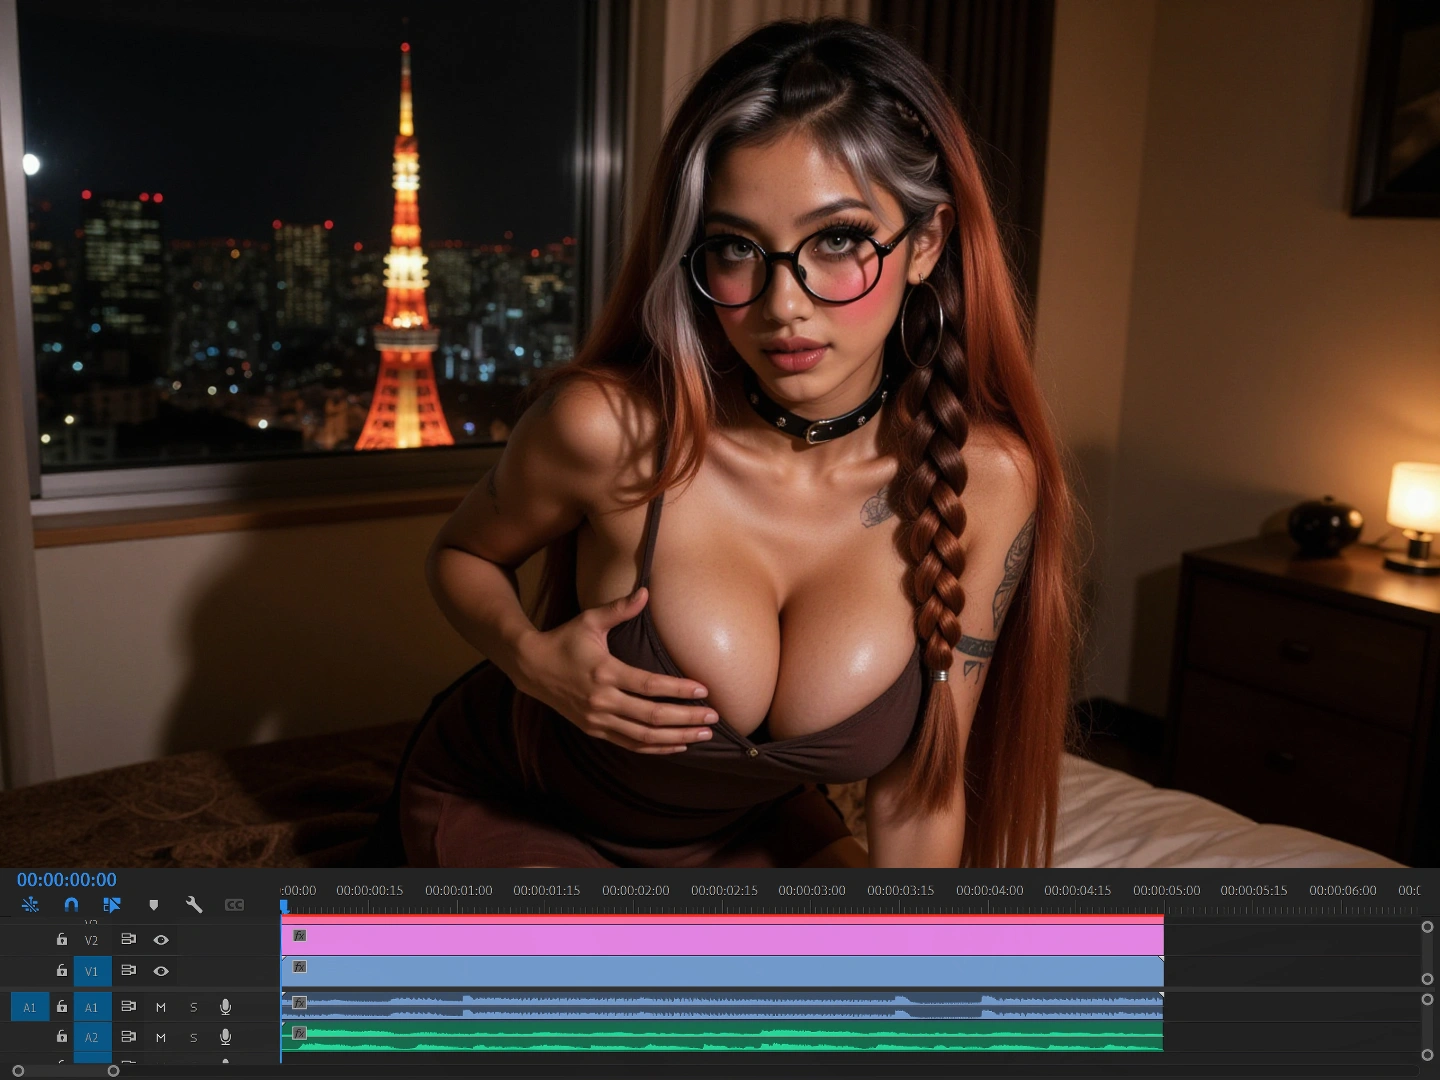
Step 1: Write the Story, Dialogue, and Shot List
Start with a short-drama beat sheet rather than a long screenplay filled with descriptive prose. Record what changes in the story: the opening hook, escalation, reveal, emotional reversal, and unresolved ending that gives the viewer a reason to continue.
Turn those beats into a numbered shot list:
| Field | What to record |
|---|---|
| Shot number | A simple sequence such as Shot 01, Shot 02, and Shot 03 |
| Duration | The expected screen time |
| Location | The reusable scene template |
| Characters | Who is visible |
| Framing | Close-up, medium, full shot, insert, or establishing shot |
| Action | One primary physical change |
| Emotion | The readable emotional state |
| Dialogue or sound | Spoken line, reaction, ambience, or silence |
| Generation route | I2V, T2V, lip-sync, speech-driven, or motion reference |
| Story function | What the viewer learns or what changes |
The story-function column prevents the episode from becoming a montage of attractive but disconnected clips. Every shot should reveal information, change a relationship, intensify a situation, or create anticipation.
For example, a simple opening can use three shots:
- Shot 01 introduces the main persona and location as a private invitation arrives.
- Shot 02 reveals the message or story trigger as an insert.
- Shot 03 returns to the persona's reaction and introduces the next unanswered question.
This is not a required Huangguo naming system. It is simply a readable way to keep the shot list in sequence while applying the workflow.
Avoid placing several actions inside one generation. “She reads the message, crosses the room, changes her expression, opens the door, and reacts” should become several short, replaceable shots.
Step 2: Build the Character Identity System
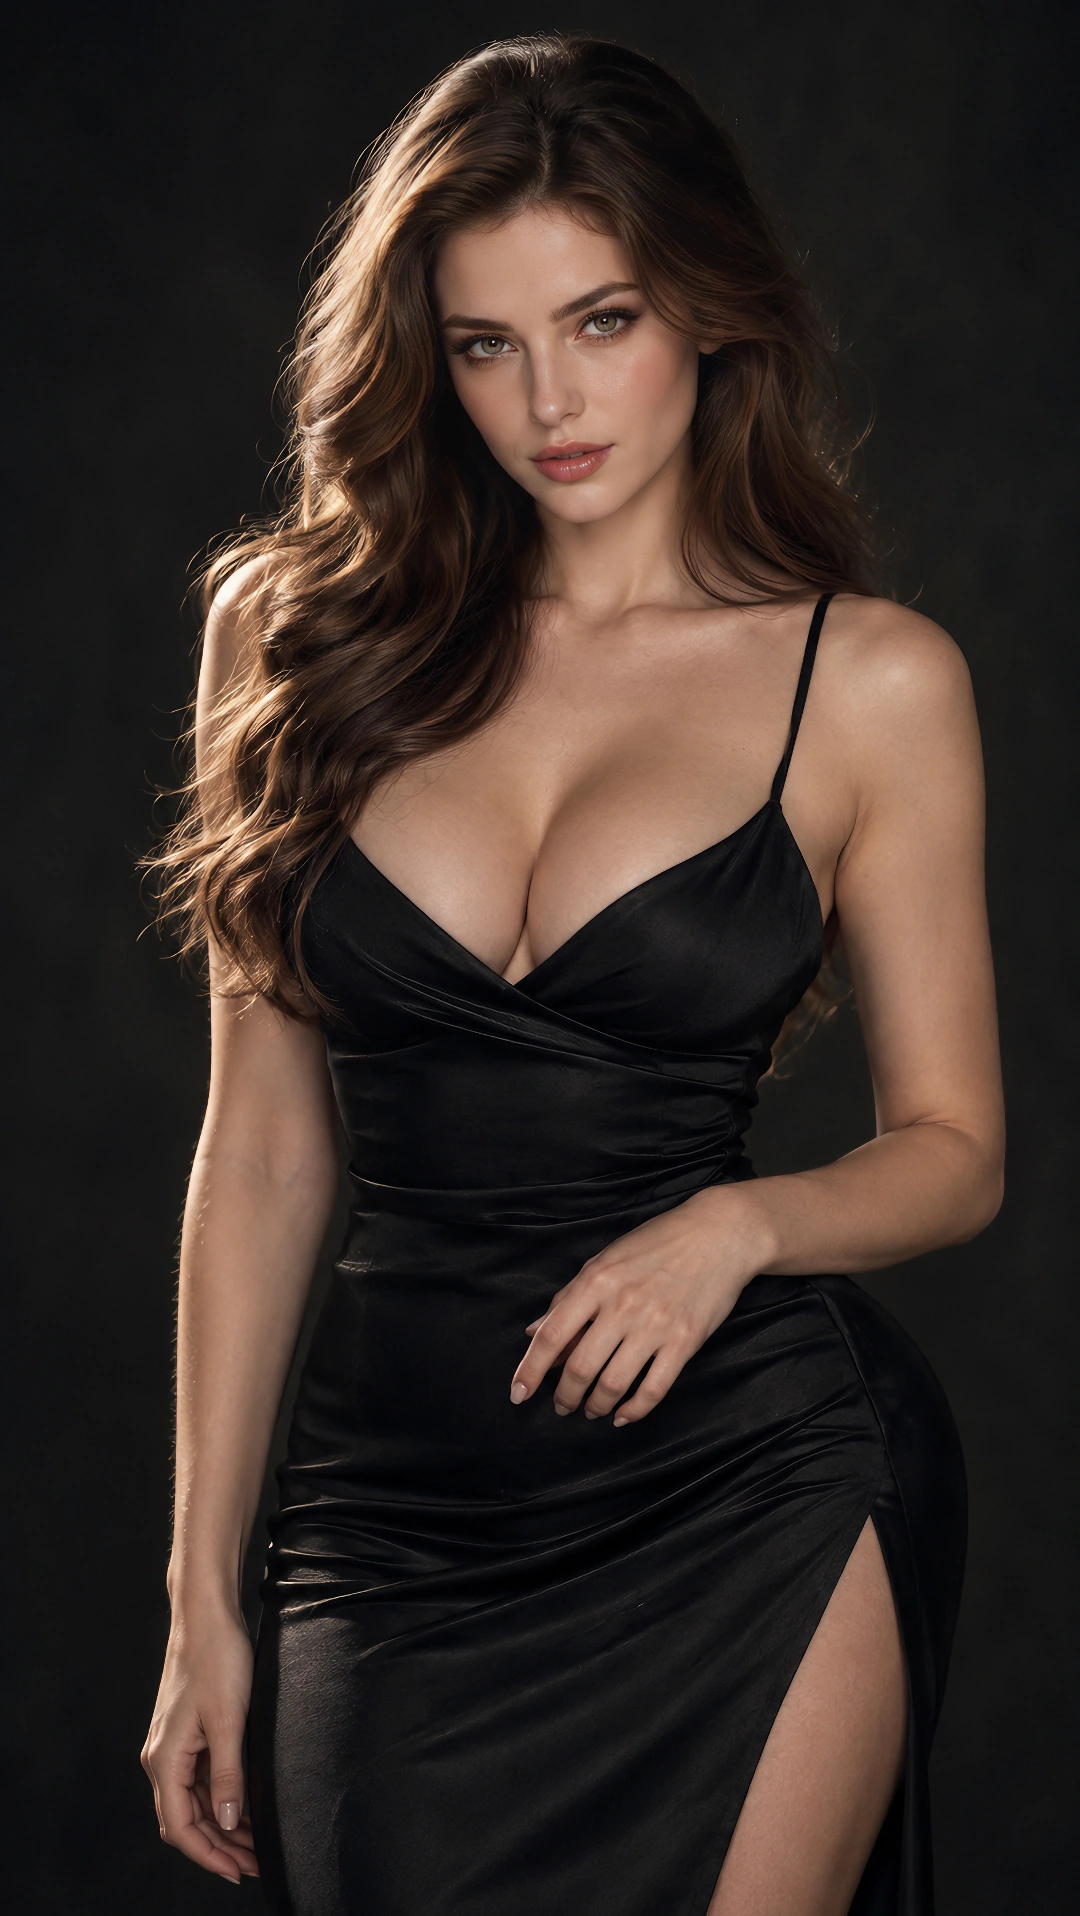
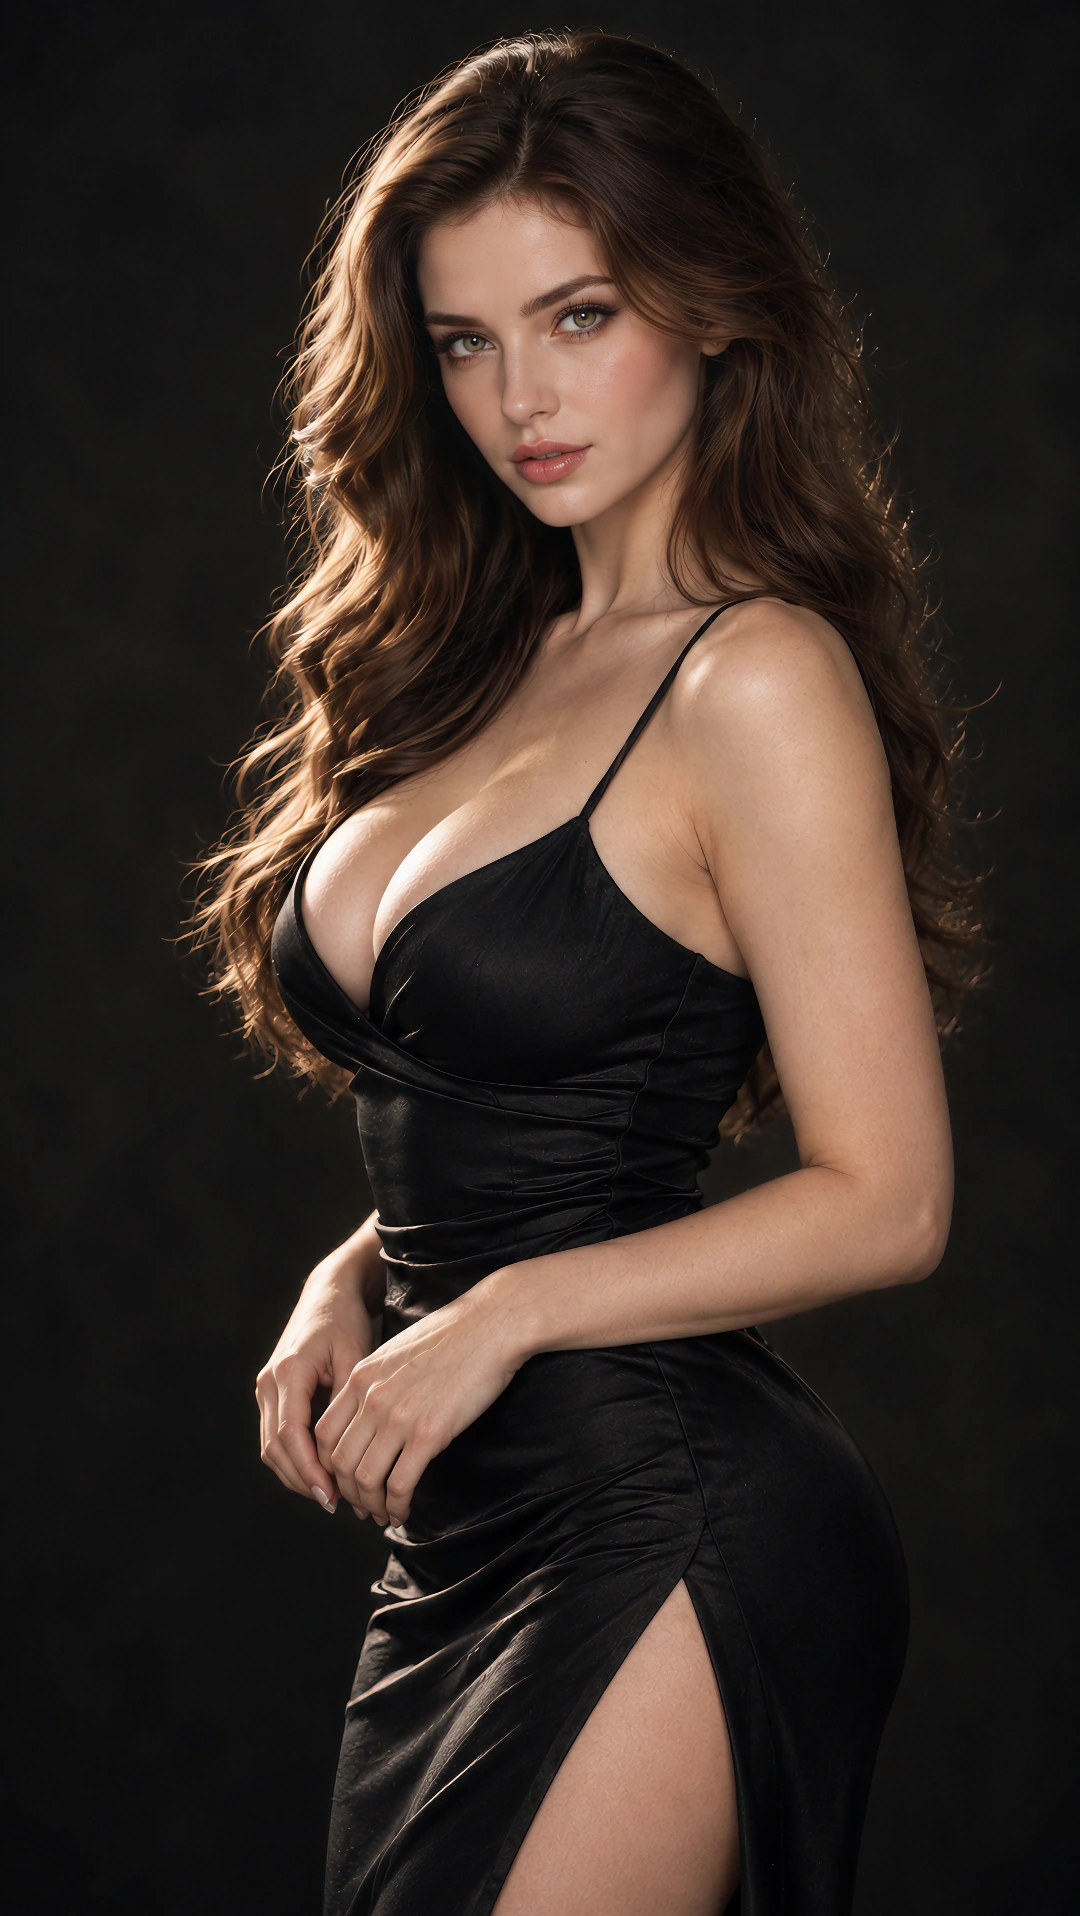
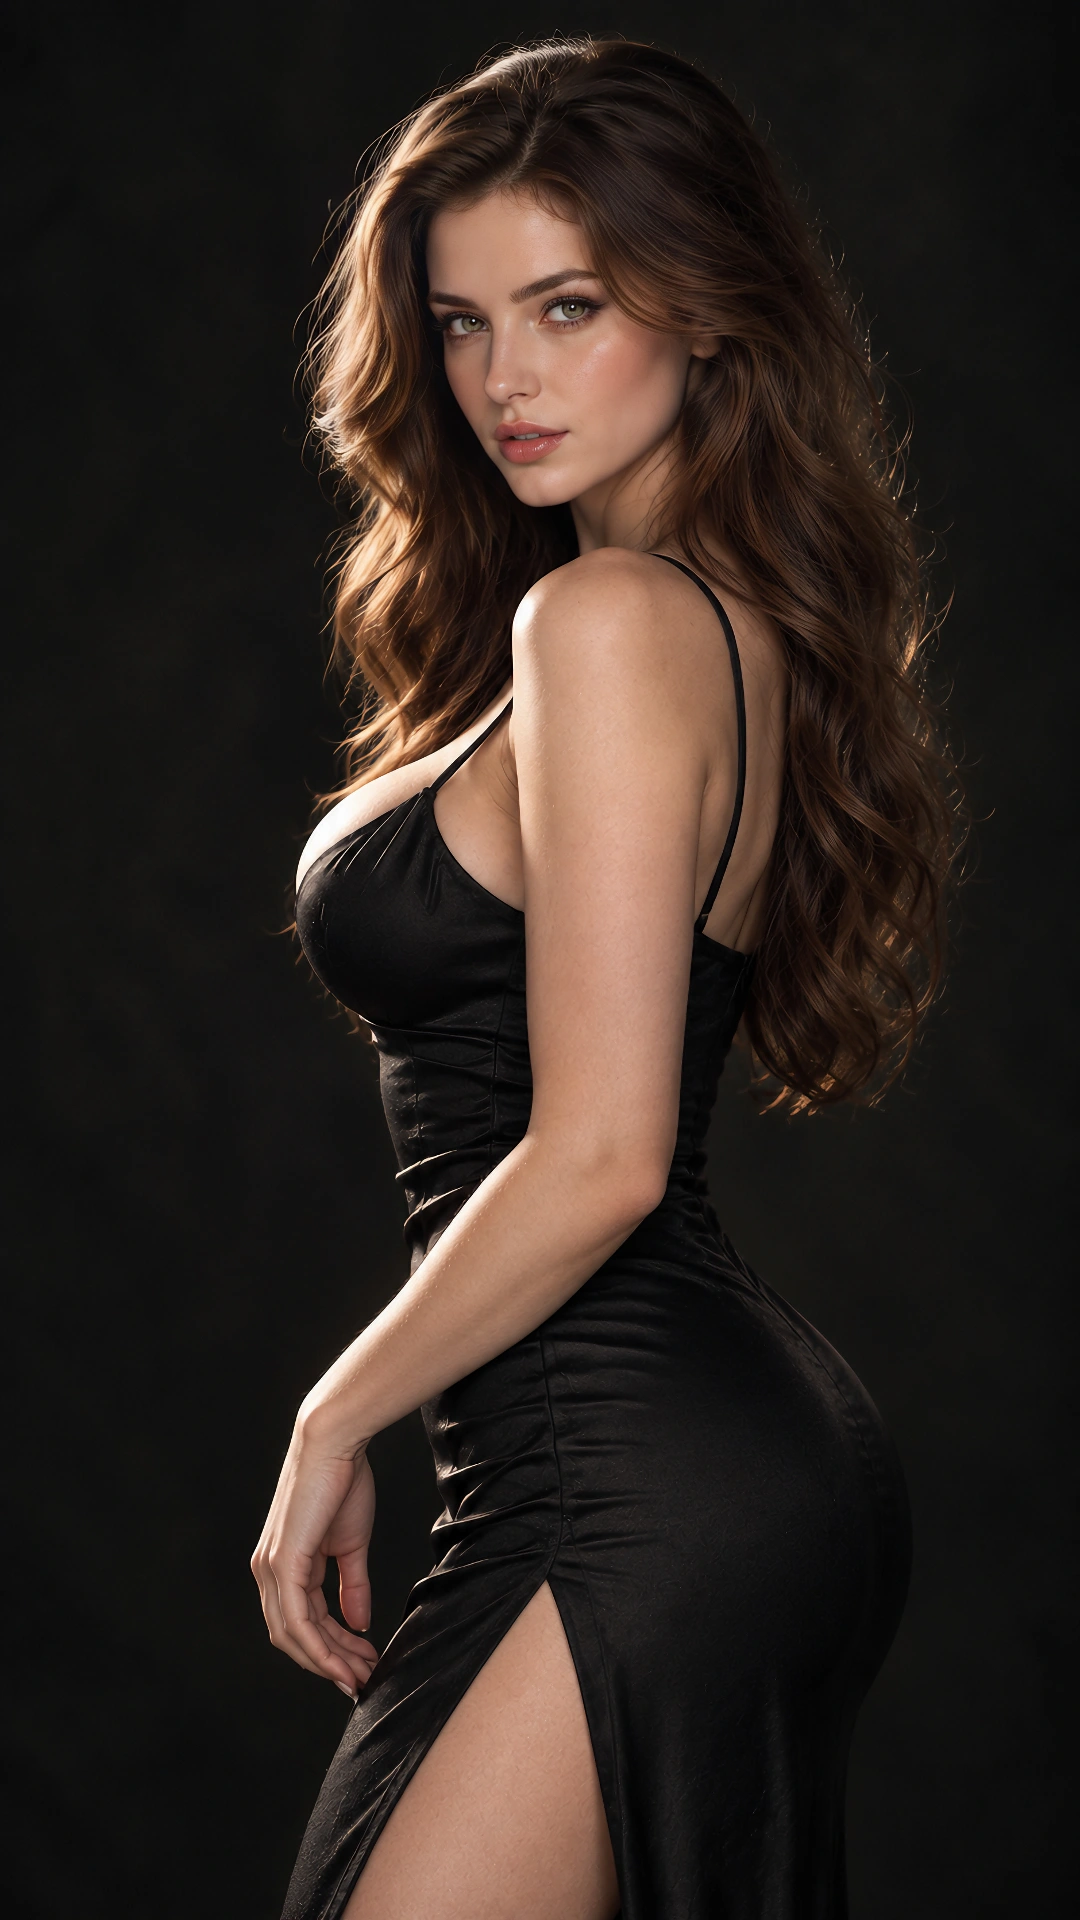
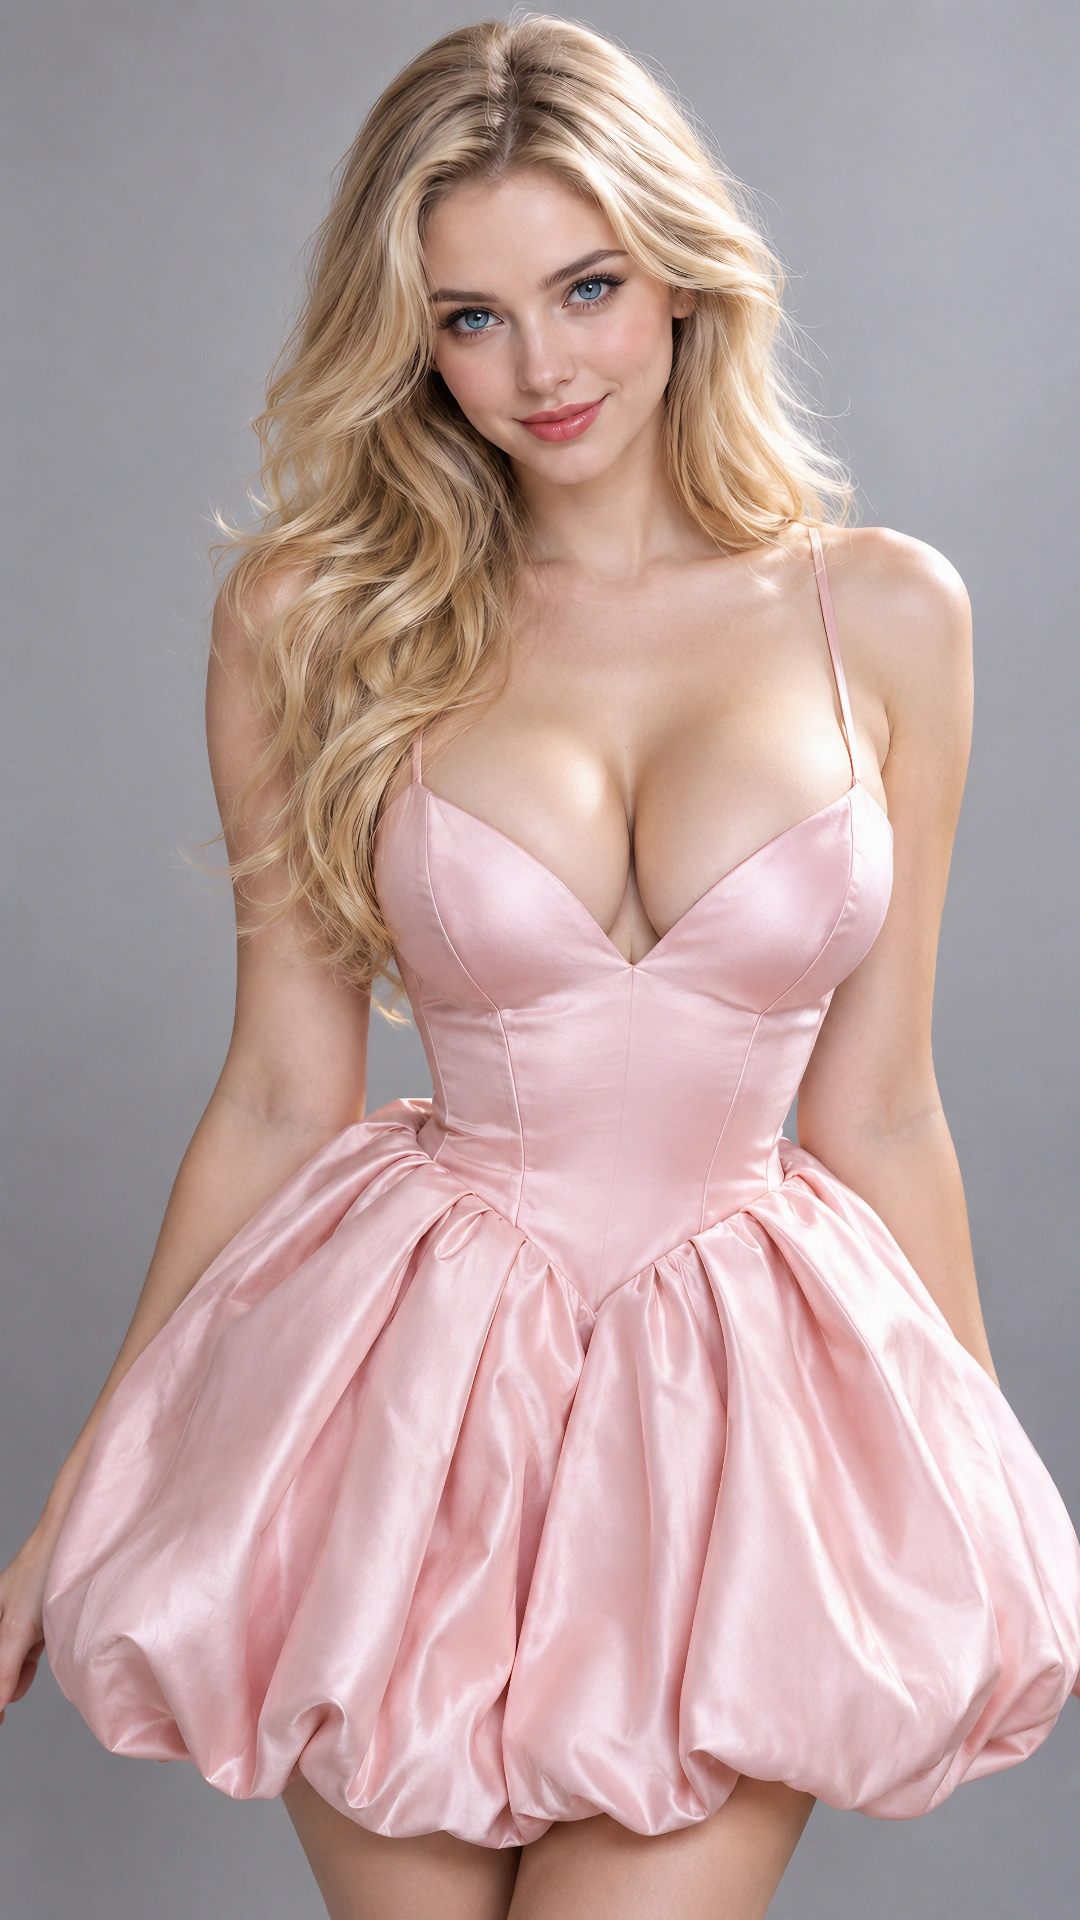
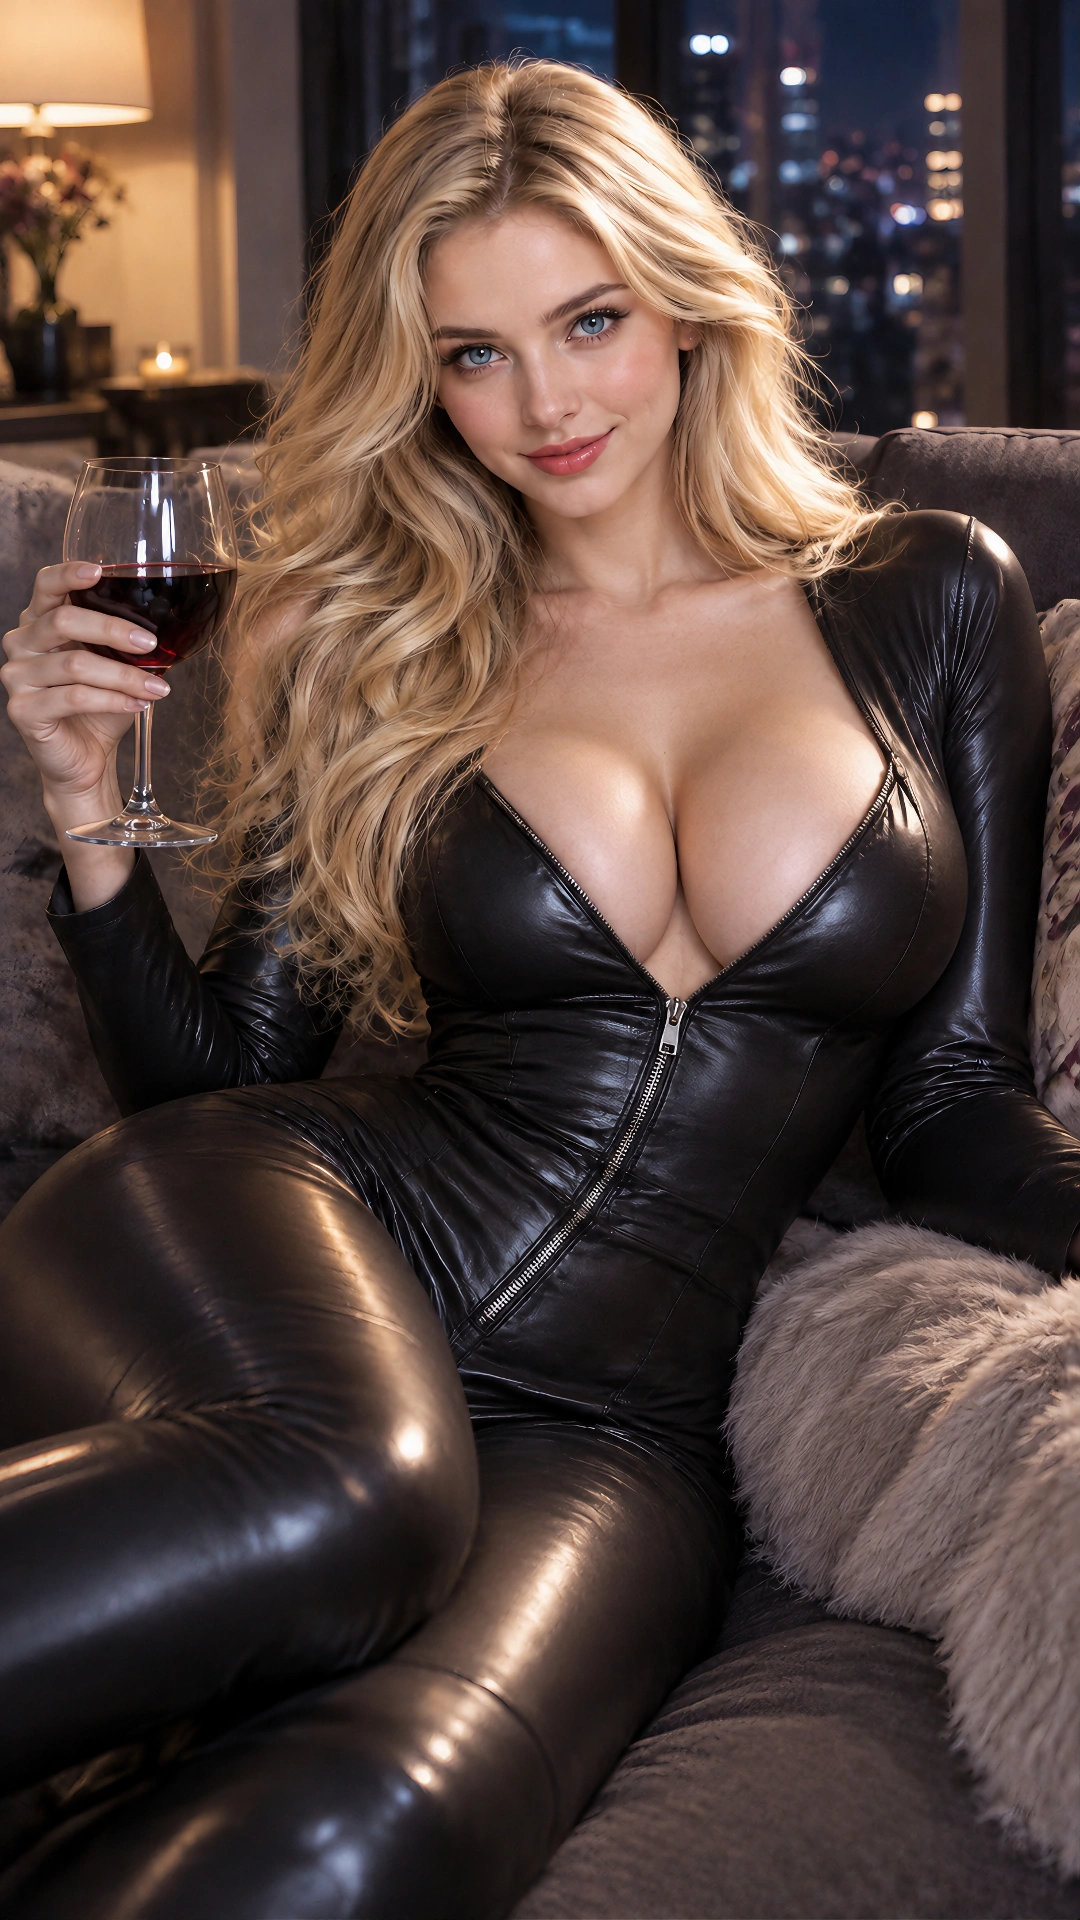
Before generating video, define what makes each recurring AI character recognizable. A name and a face are not enough. Record facial structure, body proportions, hairstyle, recurring styling, age expression, posture, emotional range, and signature details that should remain recognizable across scenes.
LoRA can form part of this reusable identity system. A LoRA is a small model adaptation trained to reproduce a recurring visual concept. In plain language, it helps a compatible generation model remember a character without rebuilding that character from a long description every time.
LoRA can be useful for a long series, but it is not required for every project. A shorter production can begin with a clean reference set:
- One front-facing portrait for facial identity.
- One three-quarter view for turns and dialogue framing.
- One wider image that establishes body proportions.
- A small expression set covering the episode’s main emotions.
- A limited set of planned visual states for continuity.
If you do not have a usable first image or do not know how to write an image prompt, create the initial persona with Image Generator from Tags. Select one result as the identity anchor and build the supporting angles around it.
Do not combine several almost-correct faces into the same reference set. Fewer clean references are more useful than a large folder containing different facial structures, unclear anatomy, heavy crops, watermarks, or conflicting age signals.
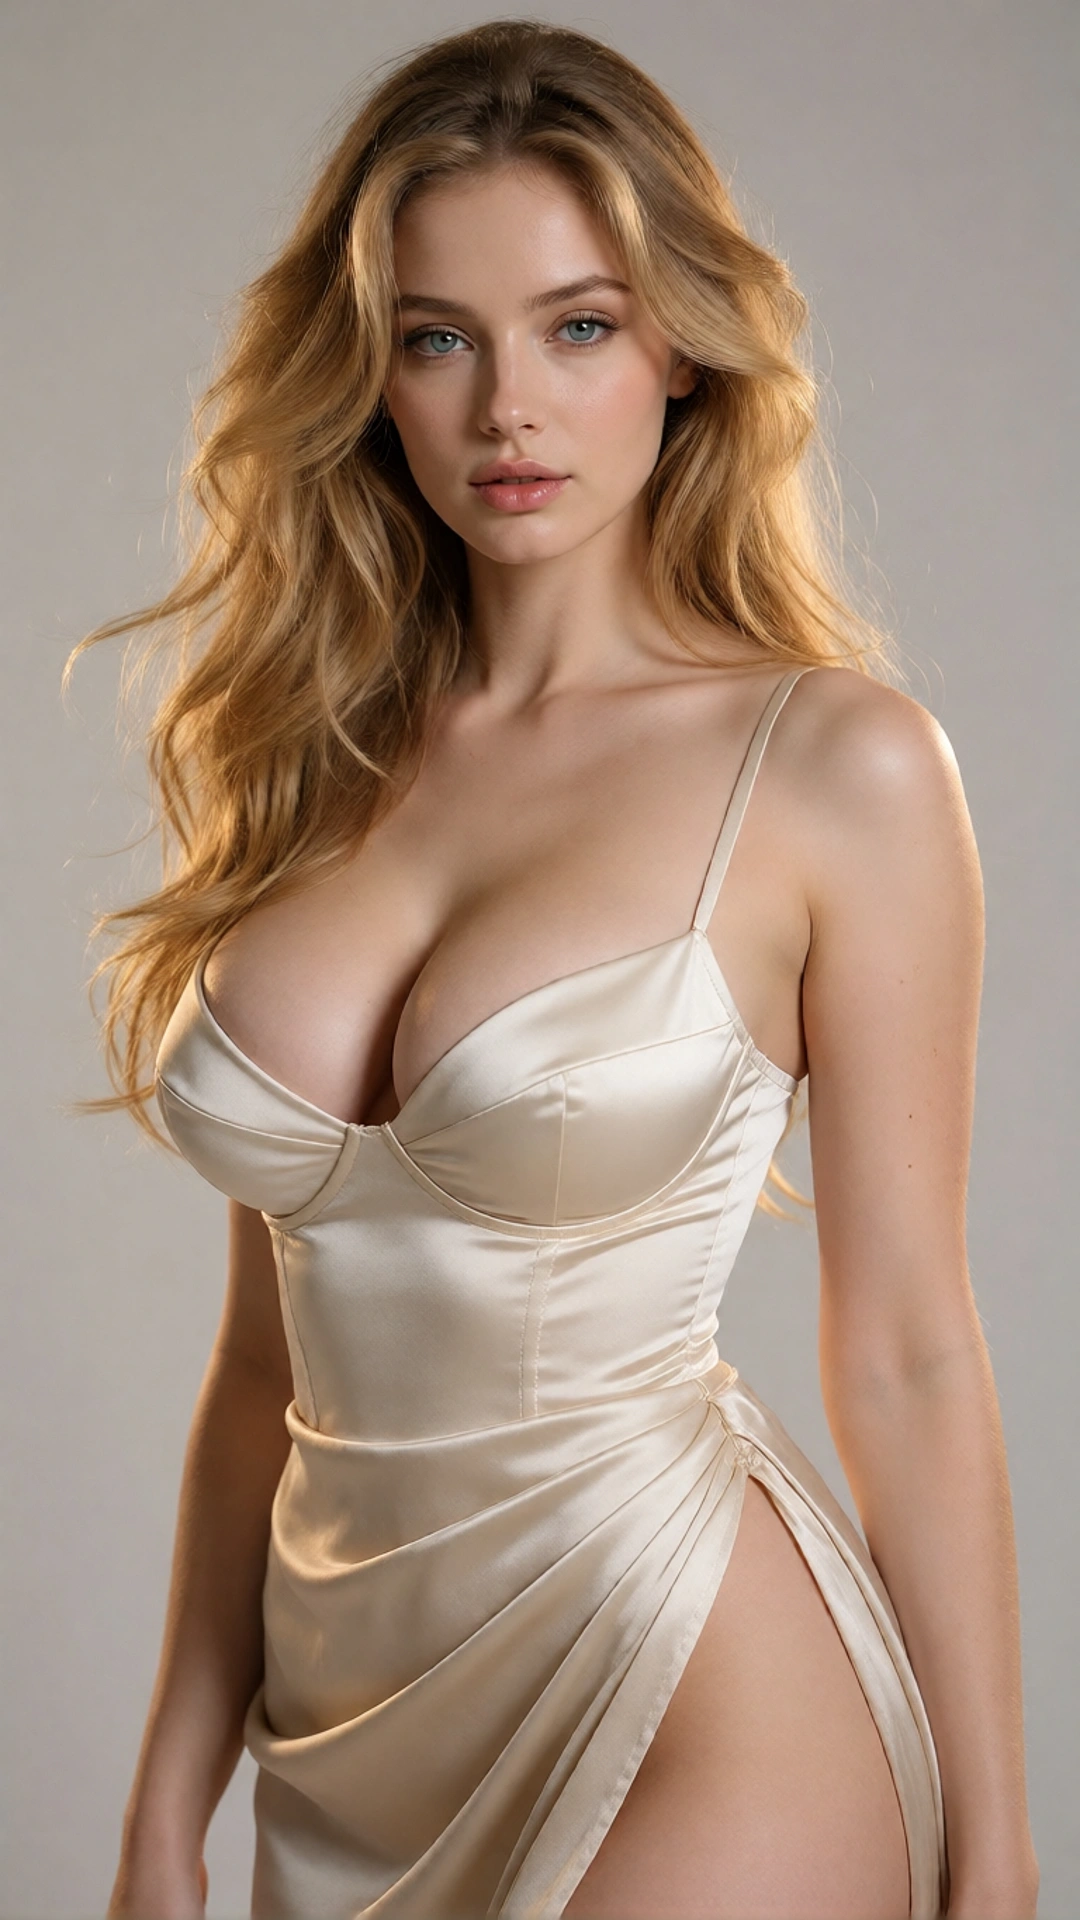

Step 3: Build Reusable Scene Templates
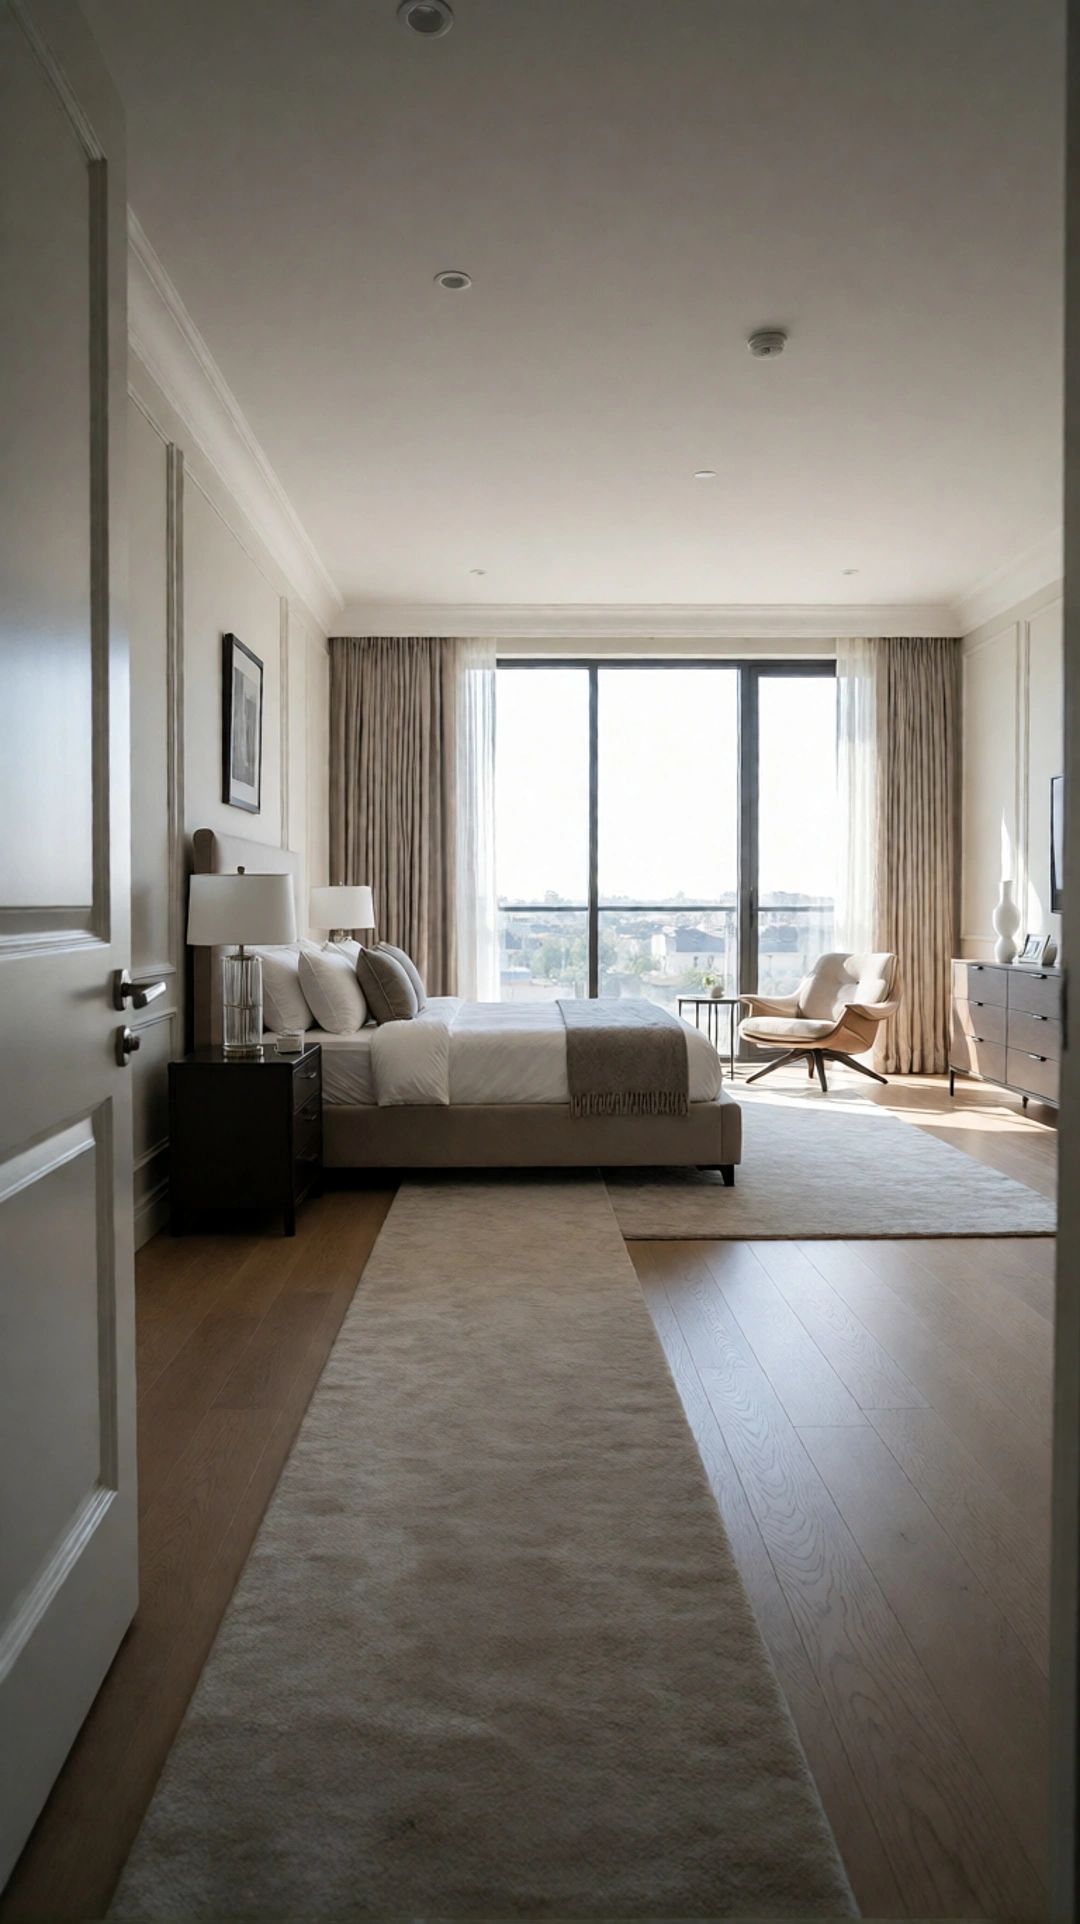
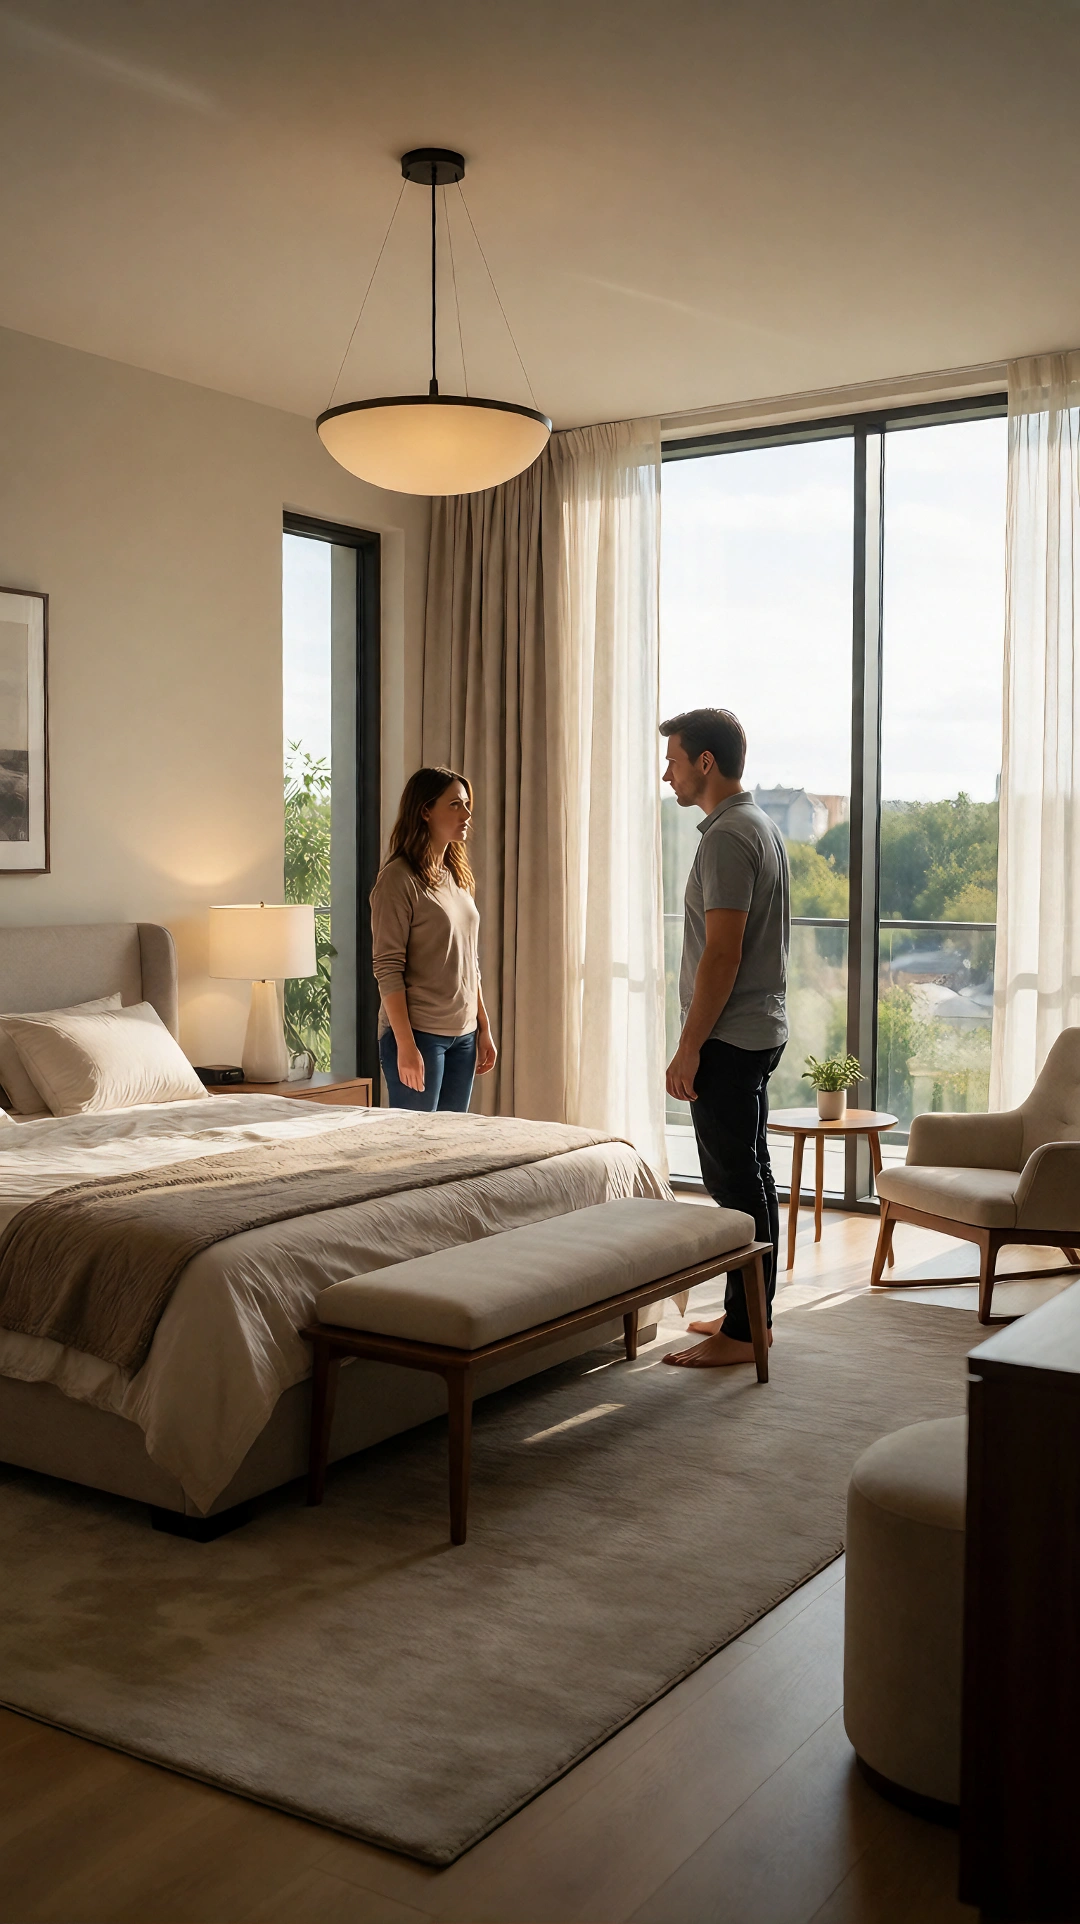
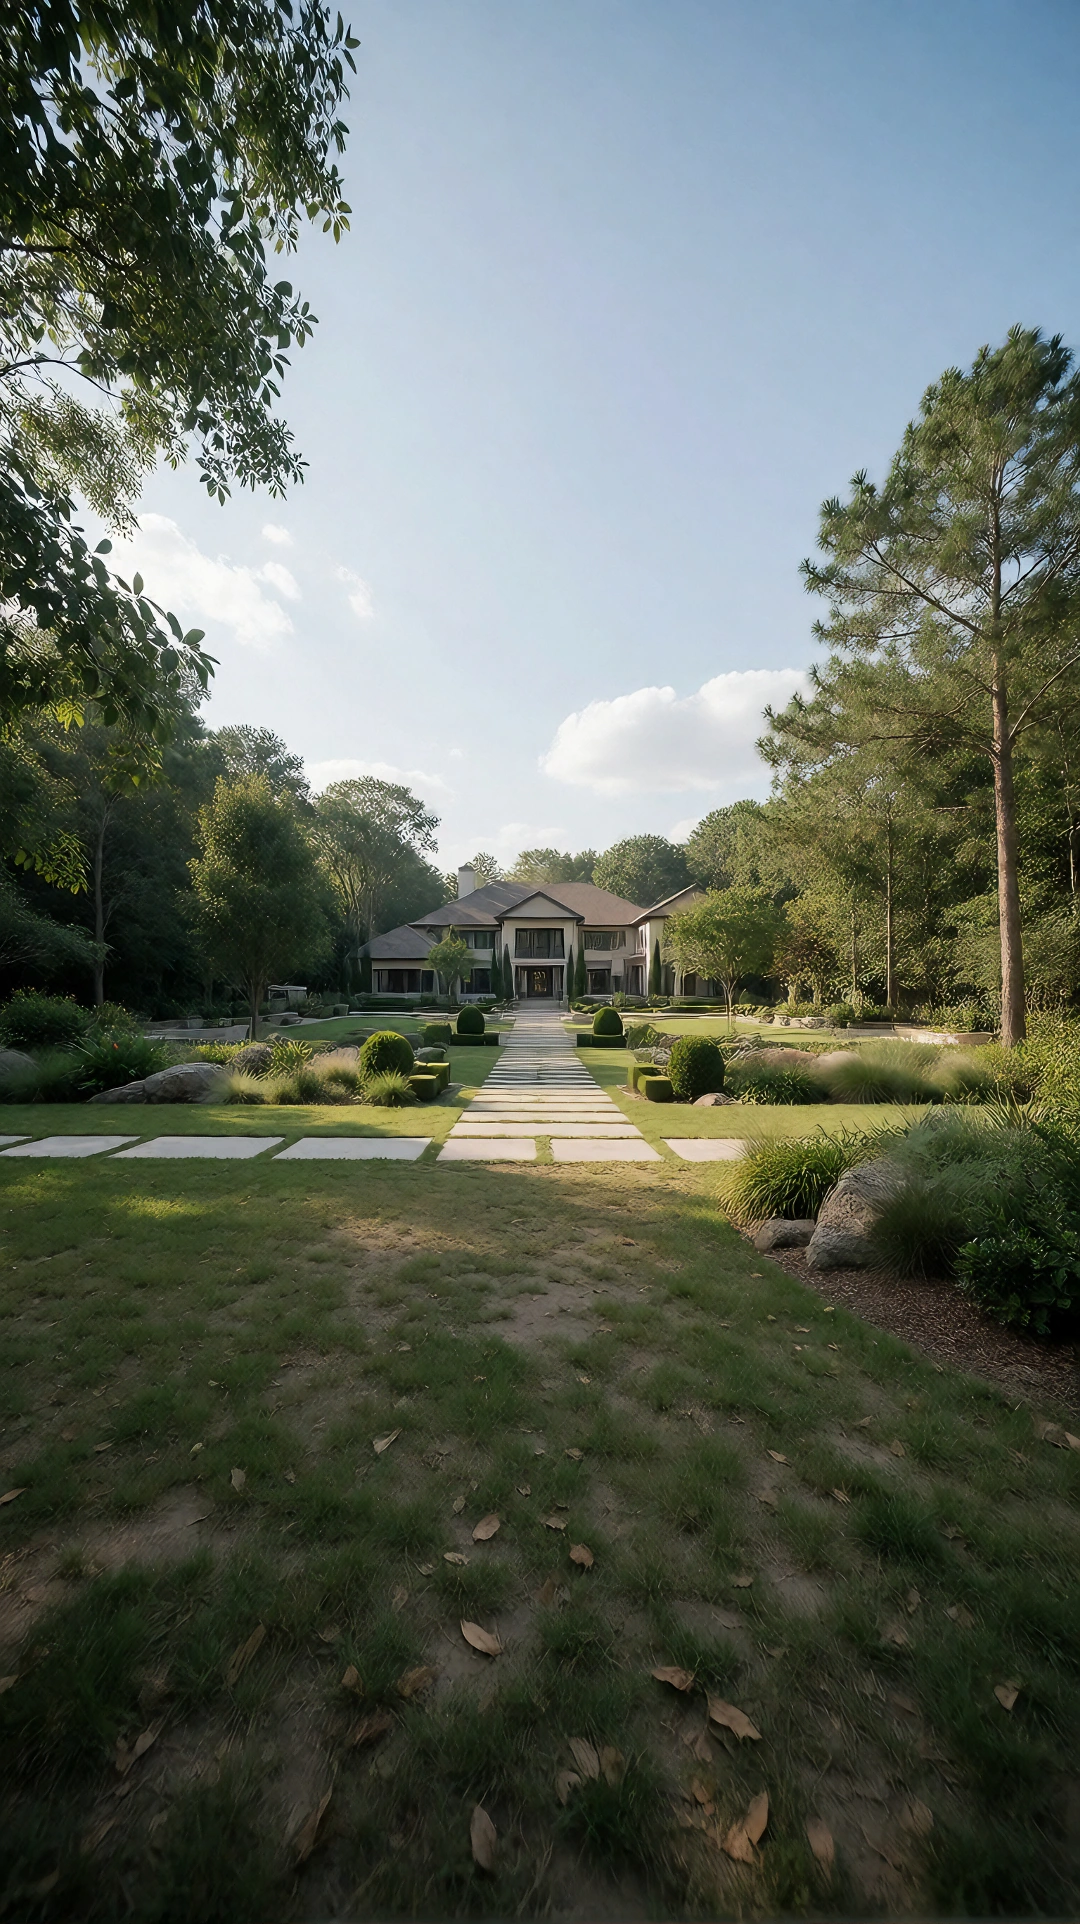
List the locations that appear repeatedly and turn each one into a reusable scene template. A template should record room layout, furniture position, entrances, practical lights, dominant colors, time of day, and the screen direction used when characters enter or leave.
For each important location, prepare:
- One establishing image that shows the overall layout.
- One or two recurring camera directions.
- A note describing the primary light source and color temperature.
- A simple position map showing where characters stand or move.
- Any recurring object that matters to the story.
A generic instruction such as “private bedroom at night” may produce a different bed, window, wall color, and light source in every generation. A scene template converts that generic location into a controlled story space.
Screen direction matters as well. If one character looks toward screen right, the following shot should preserve the implied position of the other character unless the edit deliberately changes the axis.
Step 4: Generate a Starting Keyframe for Every Shot
Return to the shot list and create the still image that should begin each video clip. The keyframe establishes character identity, location, framing, expression, visual state, and lighting before motion introduces more uncertainty.
A practical keyframe prompt can follow this order:
character identity + location template + framing + starting pose + expression + lighting + visual style + 9:16 composition
Keep permanent details stable and change only what the current shot requires. Rewriting the character description, lens, lighting, and style for every image can make the keyframes look like different productions before they reach the video model.
Generate several candidates for important shots, but select them according to the planned movement. A visually impressive close-up is still the wrong keyframe if the next action needs visible hands, a full-body turn, or interaction with an object outside the crop.
Use an NSFW AI image generation workflow to create the initial still, then carry the approved frame into video. Use original or creator-owned characters and references you created, own, or have permission to use.
Step 5: Select and Repair Keyframes Before Animation
Do not send every generated image directly into video. A small still-image error can become a moving error that is more expensive to regenerate and harder to hide in editing.
Inspect facial identity, hands, limbs, body proportions, hair edges, contact points, visual-state continuity, background geometry, and the space available for movement.
The keyframe only moves forward when the identity, composition, and planned action are compatible. If the composition is correct but a small local area needs repair, fix that area before animation. If the image conflicts with the shot, regenerate it instead of expecting motion to solve the problem.
If the same issue keeps returning, trace it back to the appropriate layer. Recurring facial drift suggests a character-reference problem. Repeated room changes suggest an incomplete scene template. Hand failures may indicate that the starting pose hides too much anatomy or that the planned interaction is too complex.
Step 6: Generate Standard Shots with Image-to-Video or Text-to-Video
Standard shots include entrances, glances, reaction shots, walking, environmental transitions, and scenes that do not require precise dialogue or complex physical interaction.
Use image-to-video when the starting composition and character appearance are already correct. The image supplies the visual anchor; the prompt should describe what changes after the first frame. Animate an approved keyframe through the NSFW image-to-video generator.
Use text-to-video when atmosphere or movement matters more than exact recurring identity. It can work for empty locations, establishing shots, silhouettes, abstract inserts, and transitions. Use text-to-video when the shot can tolerate more interpretation.
Write motion prompts as transitions:
Weak: standing in a sensual pose Stronger: slowly shifts her weight, turns her shoulders toward the camera, then pauses as the camera moves closer
Start with short drafts. Confirm the action, framing, and pacing before spending more generation time on the hook, reveal, or other visually important shots. Review the whole take rather than judging it from an attractive first frame.
Step 7: Handle Dialogue with Speech-Driven Video or Lip-Sync
Dialogue shots must coordinate line length, voice, facial movement, emotion, and edit timing. A visually strong clip can still fail when the mouth, expression, and voice feel like separate performances.
Two practical routes are available:
- Speech-driven video: The voice track helps determine facial performance and timing.
- Lip-sync after generation: Generate a stable performance first, then align the mouth to the approved voice.
Approve the dialogue before finalizing the shot duration. Do not force a long sentence into a short clip. Break longer exchanges into close-ups, listening shots, reactions, and inserts.
Keep the mouth visible during important words and avoid large head turns during lip-sync. Leave a short pause before or after the line so the editor has room to cut. If the visible mouth remains unstable, place the line over a reaction or environmental shot instead.
Step 8: Produce NSFW-Specific Shots as a Separate Generation Branch
In a Huangguo-style production, NSFW-specific shots can follow a separate generation branch because they may require different tools, inputs, and review standards. They should still be planned in the original shot list; only the production route changes.
Confirm that the selected service permits the intended mature content. Review its content policy, privacy terms, licensing conditions, and output rights before uploading references or generating the shot.
Begin from a clean keyframe that already establishes the cast, composition, visual state, and contact geometry. Asking a video model to invent all of those elements while generating motion creates too many simultaneous decisions.
Use restrained movement before testing larger transitions. If a shot includes several actions, divide it into setup, transition, and reaction shots. For a recurring persona, use reference-to-video when identity must remain recognizable. Use the NSFW AI video generator when an approved image needs a short controlled animation.
Visual-state changes should be intentional. If hairstyle, accessories, styling, lighting, or physical positioning changes, show or imply the transition rather than allowing it to appear as an accidental generation error.
Only use original AI characters represented as 18 or older and creator-owned or properly licensed source material. Do not use a real person’s likeness without explicit permission or attempt to bypass a platform’s safeguards.
Step 9: Use Motion Reference for Complex Actions
Motion reference becomes useful when text cannot describe timing, body orientation, weight transfer, or physical coordination precisely enough.
Depending on the selected workflow, the reference may be a creator-owned performance, pose sequence, skeleton track, depth map, or another authorized motion source.
Use this route selectively. A glance or slow turn does not need a complicated control pipeline. Save motion reference for coordinated movement, repeated gestures, seated-to-standing transitions, interactions between characters, or camera movements that must follow the body.
Choose references with clear silhouettes, visible joints, stable framing, and limited occlusion. During interactions, control one major contact or movement at a time. A strong motion guide cannot compensate for a starting image that hides the relevant limbs or begins from an incompatible pose.
When identity matters as much as movement, combine the motion source with reference-to-video rather than depending on motion alone.
Step 10: Unify the Footage in Post-Production
The project may now contain clips generated by different models, on different days, and from different reference types. Even when each clip works individually, changes in sharpness, exposure, frame rate, grain, color, or motion cadence can make the episode feel disconnected.
Run a normalization pass before the final edit:
- Confirm resolution and aspect ratio.
- Remove unstable opening or closing frames.
- Reduce visible flicker or temporal noise where necessary.
- Match exposure, contrast, color temperature, and saturation by scene.
- Upscale only when the source supports it.
- Conform clips to the project frame rate.
Frame interpolation is optional rather than a requirement for frame-rate conversion. Use it only when necessary, then inspect fast movement, faces, body edges, and contact points for doubled details or warped anatomy.
The goal is perceived continuity, not maximum sharpness in every clip. A consistently softer sequence can feel more convincing than alternating between highly detailed footage and visibly synthetic shots.
Step 11: Build the Voice, Music, and Sound Layer
Dialogue communicates information. Room tone connects separately generated clips into one location. Foley gives actions physical weight. Music controls anticipation and release. Silence creates emphasis.
Build the audio in layers:
- Dialogue or voice-over.
- Room tone for each recurring location.
- Specific effects such as doors, footsteps, fabric movement, phones, or environmental details.
- Music used to support structure rather than cover every moment.
- Transitional accents for reveals, interruptions, or cliffhangers.
Keep each recurring character’s voice consistent in pace, pitch, pronunciation, and emotional range. Maintain a pronunciation sheet for names and recurring terms when several tools or production sessions are involved.
Do not use music to hide weak pacing. First make the scene understandable through dialogue, performance, and editing. Then use music to support changes in tension.
Step 12: Add Subtitles and In-Story UI in Post
Do not ask image or video models to render important dialogue, messages, usernames, or interface text. Generated text may look correct in one frame and dissolve or change during motion.
Reserve space in the composition and add readable text after the footage is stable. Subtitles should be synchronized with speech, divided into short units, and placed inside mobile-safe margins without covering faces or story-critical details.
In-story UI can communicate information efficiently. A message preview, missed call, timer, locked folder, payment alert, or private invitation can move the plot forward without requiring another generated location.
Keep fonts, colors, spacing, and interaction patterns consistent. Add episode numbers, content labels, recap cards, and continuation cues at this stage rather than embedding them in generated footage.
Step 13: Edit and Export the Final 9:16 Episode
Import the approved clips according to the shot list, but do not assume the original order will produce the best edit. The script predicts the rhythm; the footage reveals it.
Begin with a story cut. Confirm that the viewer can follow the setup, escalation, reveal, and ending beat. Then complete separate passes for character continuity, visual states, locations, eyelines, audio, subtitles, UI, and technical quality.
Use reaction shots and inserts to hide difficult joins. A phone screen, environmental detail, hand movement, or close reaction can bridge two clips more naturally than cutting directly between slightly different full-body generations.
Review every shot inside a 9:16 frame. Keep faces, physical interactions, subtitles, and story-critical props away from interface overlays. Export a short test before rendering the final episode and review it on a phone.
The final quality-control pass should ask:
- Is the same character recognizable throughout the episode?
- Does every shot change or clarify something?
- Are intentional visual-state changes understandable?
- Do locations, eyelines, and screen directions remain coherent?
- Are there visible face, hand, anatomy, contact, flicker, or interpolation failures?
- Do dialogue, lip movement, subtitles, and cuts agree?
- Does the ending create a reason to continue?
- Does every character meet the project’s age and source-material requirements?
Frequently Asked Questions
Do I need LoRA to make a consistent AI short drama?
Not for every project. LoRA may become useful for a recurring series or a large number of shots, but a short production can begin with a clean multi-angle reference set and a reference-capable image or video workflow. The essential requirement is a repeatable identity system, not one mandatory technology.
Can one AI drama generator create an entire episode?
Current tools work better as shot generators than complete episode generators. One interface may create images and videos, but story planning, continuity, sound, subtitles, and final editing still need to be coordinated.
Why should I generate keyframes before video?
Keyframes let you approve character identity, location, framing, and the starting visual state before spending video-generation time or credits. They also make it easier to determine whether a later failure came from the source image, motion prompt, or video model.
How long should each AI-generated shot be?
Use the shortest duration that clearly communicates the action. Short takes are easier to regenerate, compare, repair, and edit. The appropriate length depends on the model, dialogue, motion complexity, and story beat.
Can I complete this workflow with browser-based tools?
A first short episode can be produced with browser-based image, video, voice, and editing tools. More specialized workflows become useful when you need custom training, batch production, deeper motion control, or tighter management of cost and source files.