
On this page
Quick Answer: Can Krea 2 Turbo Generate NSFW Images Locally?
Yes, but with limits. Krea 2 Turbo can run locally and may generate NSFW or mature images, but the official checkpoint is not a dedicated fully uncensored NSFW model. Krea’s online platform applies its own content moderation, while local deployment gives users more control over checkpoints, LoRAs, model files, and workflow settings. However, running Krea 2 Turbo locally does not guarantee that every explicit prompt will be followed successfully.
Krea 2 Turbo creates still images rather than videos. If local deployment feels too complex, AINSFW.AI provides a browser-based route: create a starting image with the NSFW AI Image Generator, then animate it with the NSFW Image-to-Video Generator.
What Is Krea 2 Turbo, and Can It Generate Images or Videos?
Krea 2 is Krea’s open-weight text-to-image model family. Its architecture is described as a roughly 12-billion-parameter dense diffusion transformer using Qwen3-VL for text conditioning and the Qwen Image VAE in the open release.
The family includes two downloadable checkpoints:
- Krea 2 RAW is the undistilled base checkpoint.
- Krea 2 Turbo is the distilled checkpoint built for fast, eight-step inference.
Turbo is designed for rapid image generation and visual exploration. It can interpret natural-language descriptions and generate images from approximately 1K to 2K resolution. Krea recommends detailed natural-language prompts when users need more control, although shorter prompts can still work for open-ended exploration.
Speed is Turbo’s main advantage. It lets creators test more compositions, lighting directions, and visual concepts before committing to a final result. That speed comes with a tradeoff: Krea positions its Medium and Large hosted variants as stronger choices when precise style adherence or final-image polish matters more than rapid iteration.
Krea 2 Turbo does not generate AI videos. Krea’s wider platform includes video tools, but those tools use separate models such as Kling, Wan, Veo, Runway, and Seedance. A Krea 2 image can be used as a video starting frame, but the motion is generated by another model.
Krea 2 Turbo Online vs Local: Which Is Better for NSFW Image Generation?
The online and local routes use related technology, but they do not provide the same experience.
| Question | Krea Online | Local Krea 2 Turbo |
|---|---|---|
| Setup | Runs in a browser | Requires model files and a compatible workflow |
| Content handling | Subject to Krea’s online platform rules and classifiers | Not processed through Krea’s hosted interface |
| Privacy | Inputs are processed through an online service | Files can remain on the device when every workflow component is local |
| LoRA control | Depends on available platform features and plan | Greater control over compatible LoRAs and workflow configuration |
| Hardware | Krea provides the compute | User provides GPU, memory, storage, and maintenance |
| Costs | Uses platform credits or subscriptions | Model access may not require a subscription, but hardware and electricity still cost money |
| Troubleshooting | Platform handles most infrastructure | User must diagnose model, encoder, VAE, memory, and workflow problems |
| Usage rules | Governed by Krea’s hosted terms | Governed by the model license, Acceptable Use Policy, and applicable law |
Krea’s online platform applies content rules and input-and-output classifiers to restrict sexually graphic, pornographic, and other policy-violating requests. This makes the browser version easier to use, but less suitable for creators who need direct control over model files, LoRAs, storage, and workflow settings.
Running Krea 2 Turbo locally removes Krea’s hosted moderation layer and gives users more control over those components. However, the official checkpoint was safety-trained and is not marketed as a dedicated uncensored NSFW model, so local generation does not guarantee that every mature prompt will be followed. The Krea 2 Community License and Acceptable Use Policy also continue to apply.
Krea 2 RAW vs Turbo: Which Model Should You Use?
RAW and Turbo are not competing versions of the same workflow. They have different jobs.
Krea 2 RAW is the undistilled base checkpoint. It is more malleable and is intended for fine-tuning, post-training experiments, and LoRA training. The official example uses a longer sampling process with classifier-free guidance.
Krea 2 Turbo is the fast inference checkpoint. It condenses image generation into approximately eight steps and runs with guidance disabled in the official implementation. It is the version intended for generating finished images quickly.
Krea summarizes the relationship clearly:
Train on RAW and run on Turbo.
For a recurring fictional character, this means the identity or style LoRA should normally be trained against RAW and then applied during Turbo inference. Training and generation are separate stages; a user interested only in existing compatible LoRAs may not need to run RAW at all.
A Krea 2 Turbo LoRA can influence identity, texture, lighting, or visual style, but it does not automatically correct anatomy or guarantee consistent characters. Its effect still depends on the training data, compatibility, weight, prompt, seed, and interaction with other workflow components.
What Do You Need to Run Krea 2 Turbo Locally?
A functioning local Krea 2 Turbo workflow requires more than the main checkpoint.
For the standard ComfyUI route, the core components include:
- A compatible version of ComfyUI
- A Krea 2 Turbo diffusion checkpoint
- The Qwen3-VL text encoder
- The Qwen Image VAE
- Enough storage, GPU memory, and system memory for the chosen model format
- Optional compatible LoRAs
- A workflow that connects the model, text encoder, sampler, latent image, VAE, and output nodes correctly
The official ComfyUI documentation recommends the FP8 checkpoint for many users. BF16 preserves higher precision but needs more resources, while other quantized formats may reduce memory pressure at the cost of different compatibility or output tradeoffs.
There is no honest universal answer to “How much VRAM does Krea 2 Turbo need?” Resolution, batch size, precision, CPU offloading, operating system, text-encoder placement, and the chosen implementation all change the requirement. A configuration that loads successfully is also not necessarily comfortable for repeated generation.
This is why a local article should not present one community-tested number as the official minimum. Check the exact checkpoint format and workflow before downloading tens of gigabytes of files.
How to Test Krea 2 Turbo for NSFW Image Generation
The useful question is not whether one carefully selected image looks impressive. It is whether the model remains usable across the kinds of images you intend to create.
Use a controlled test instead of changing the prompt, LoRA, resolution, and sampler simultaneously.
1. Record the Starting Configuration
Write down the checkpoint format, workflow version, resolution, seed, steps, guidance setting, sampler, scheduler, text encoder, VAE, and active LoRAs.
Without this record, a better result may be impossible to reproduce.
2. Begin Without a LoRA
Start with the official Turbo checkpoint and a clear natural-language prompt. This establishes what the base model can do before another component changes its output distribution.
A useful prompt structure is:
[NSFW character] + [framing] + [pose or action] + [environment] + [lighting] + [camera language] + [details that must remain visible]
Avoid filling the prompt with unsupported praise such as “perfect anatomy” or “masterpiece.” Describe the actual shot.
Use a Four-Scene Test Set
Do not evaluate Krea 2 Turbo for NSFW image generation from one attractive portrait. Use four scenes that expose different strengths and failure points:
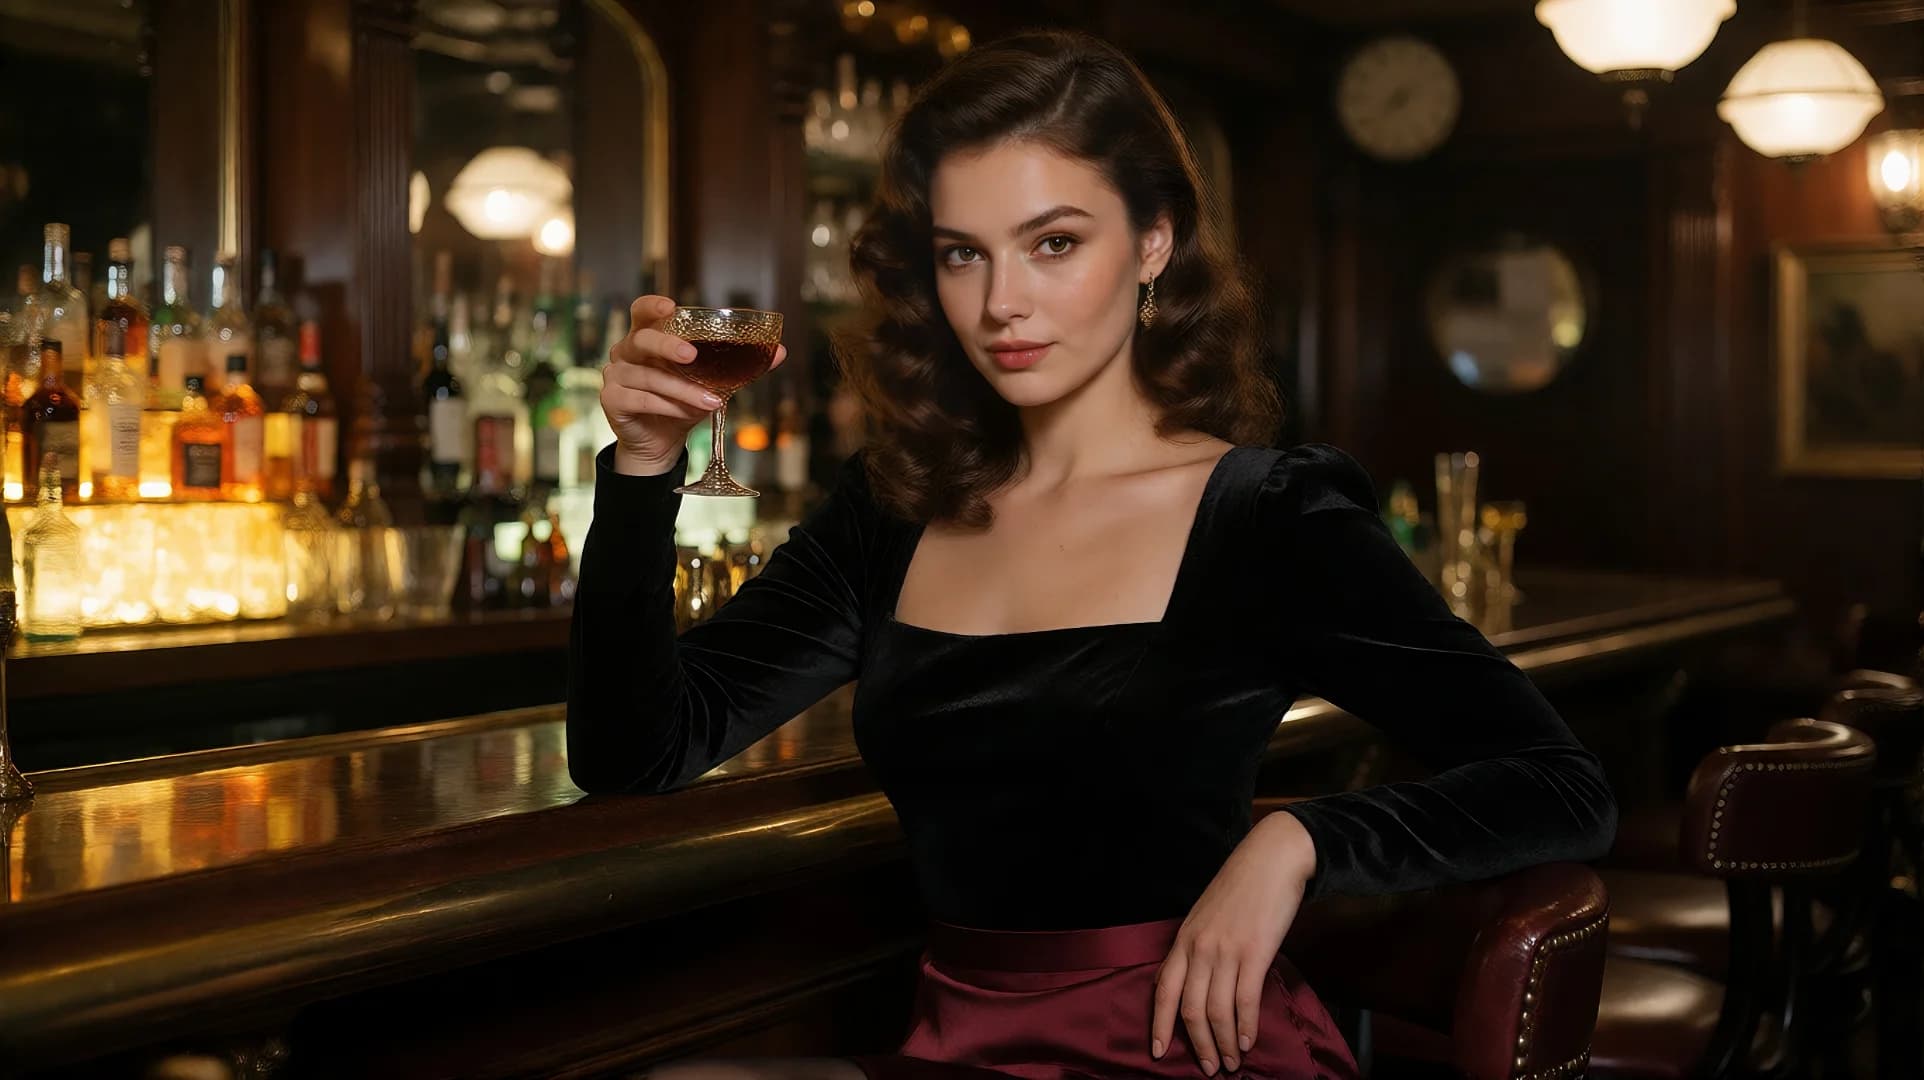
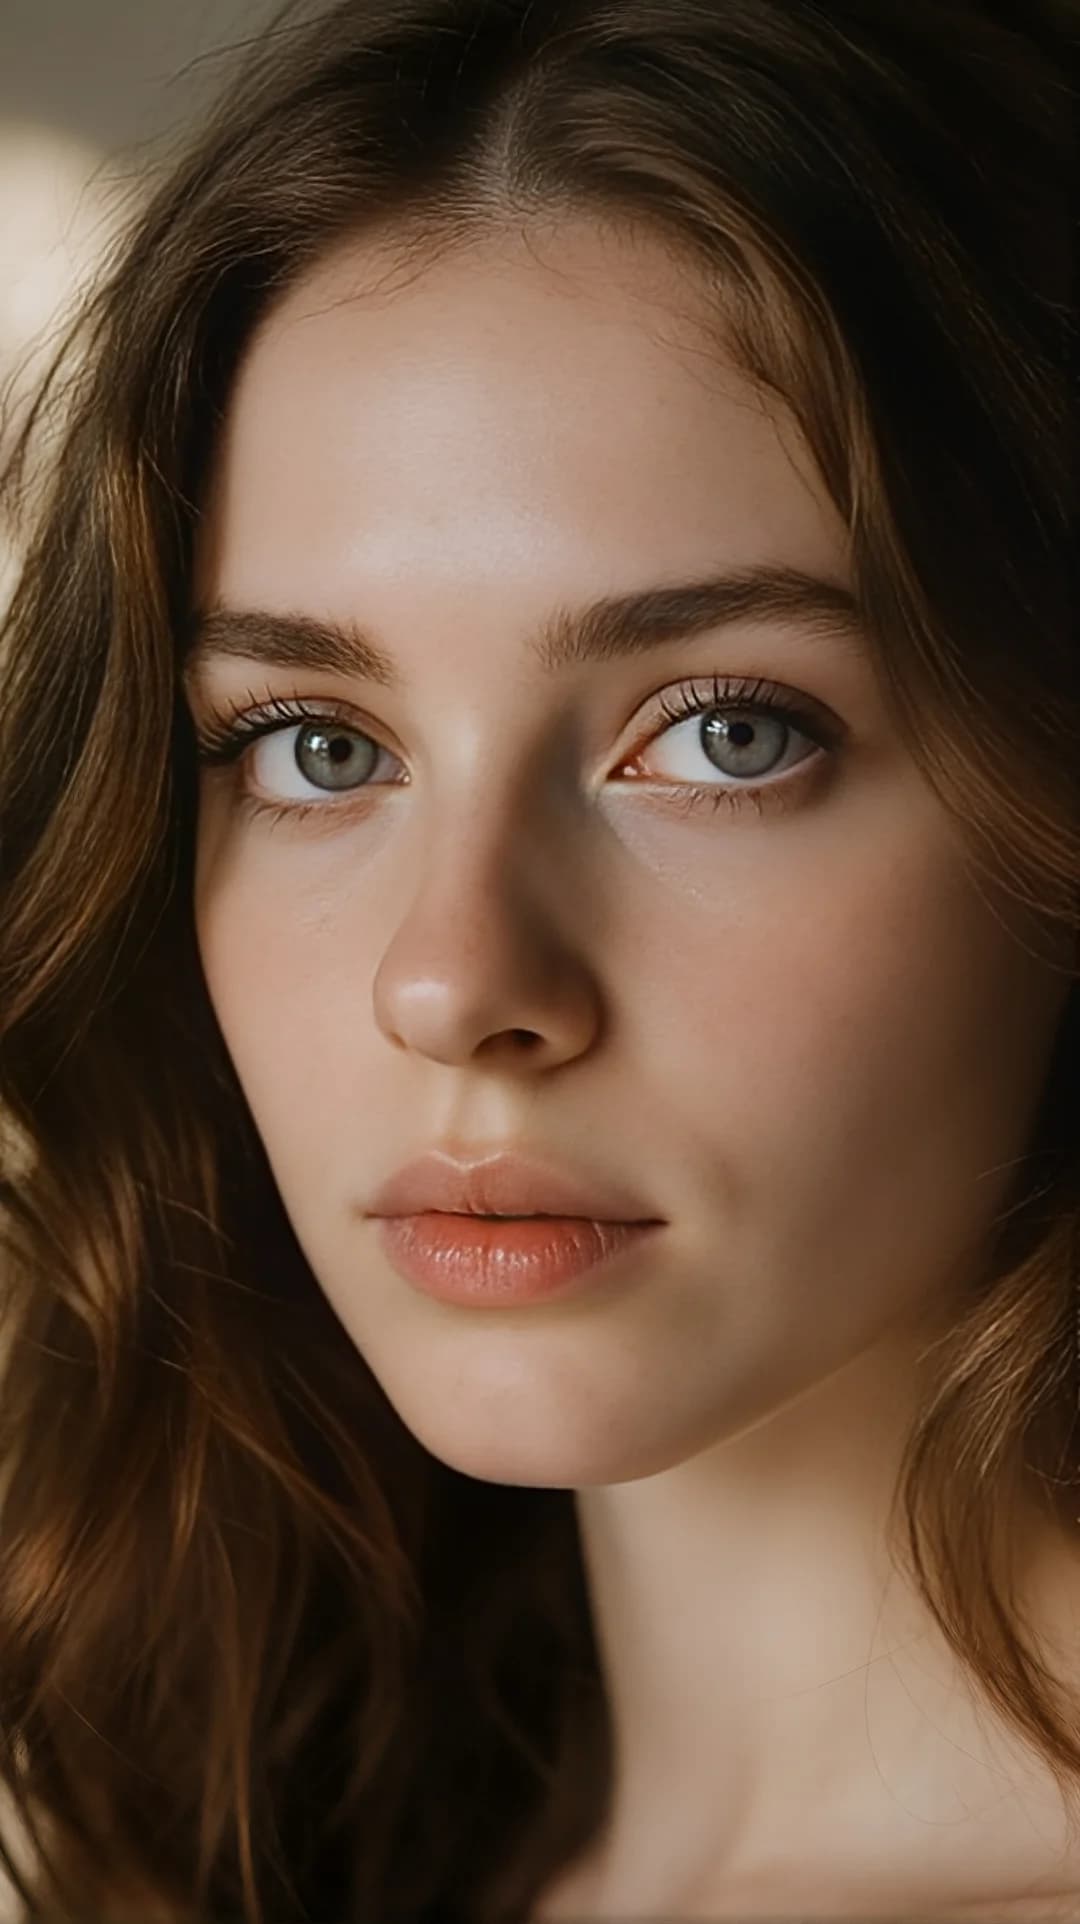
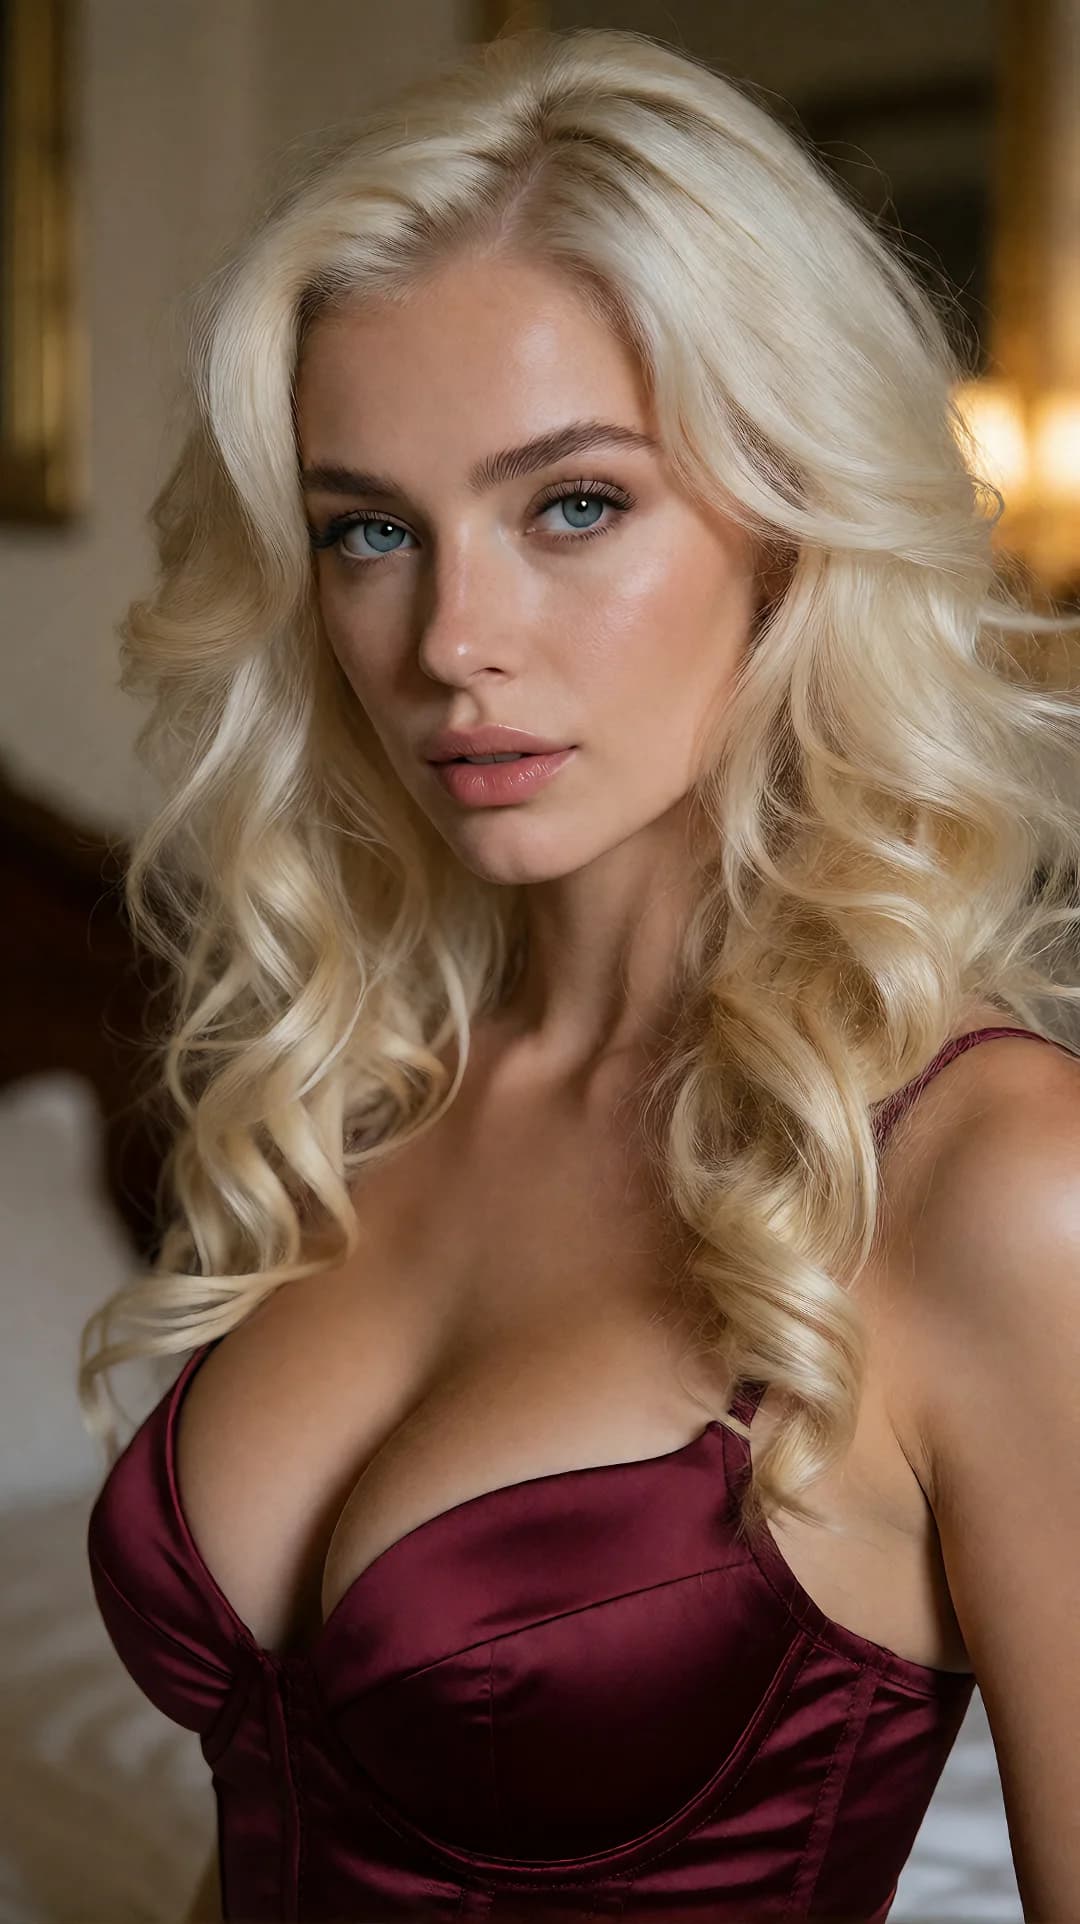
- Portrait Test: Generate a close-up or medium close-up with a clearly visible face. Check facial structure, skin texture, eyes, hair edges, lighting, and whether the requested expression appears naturally.
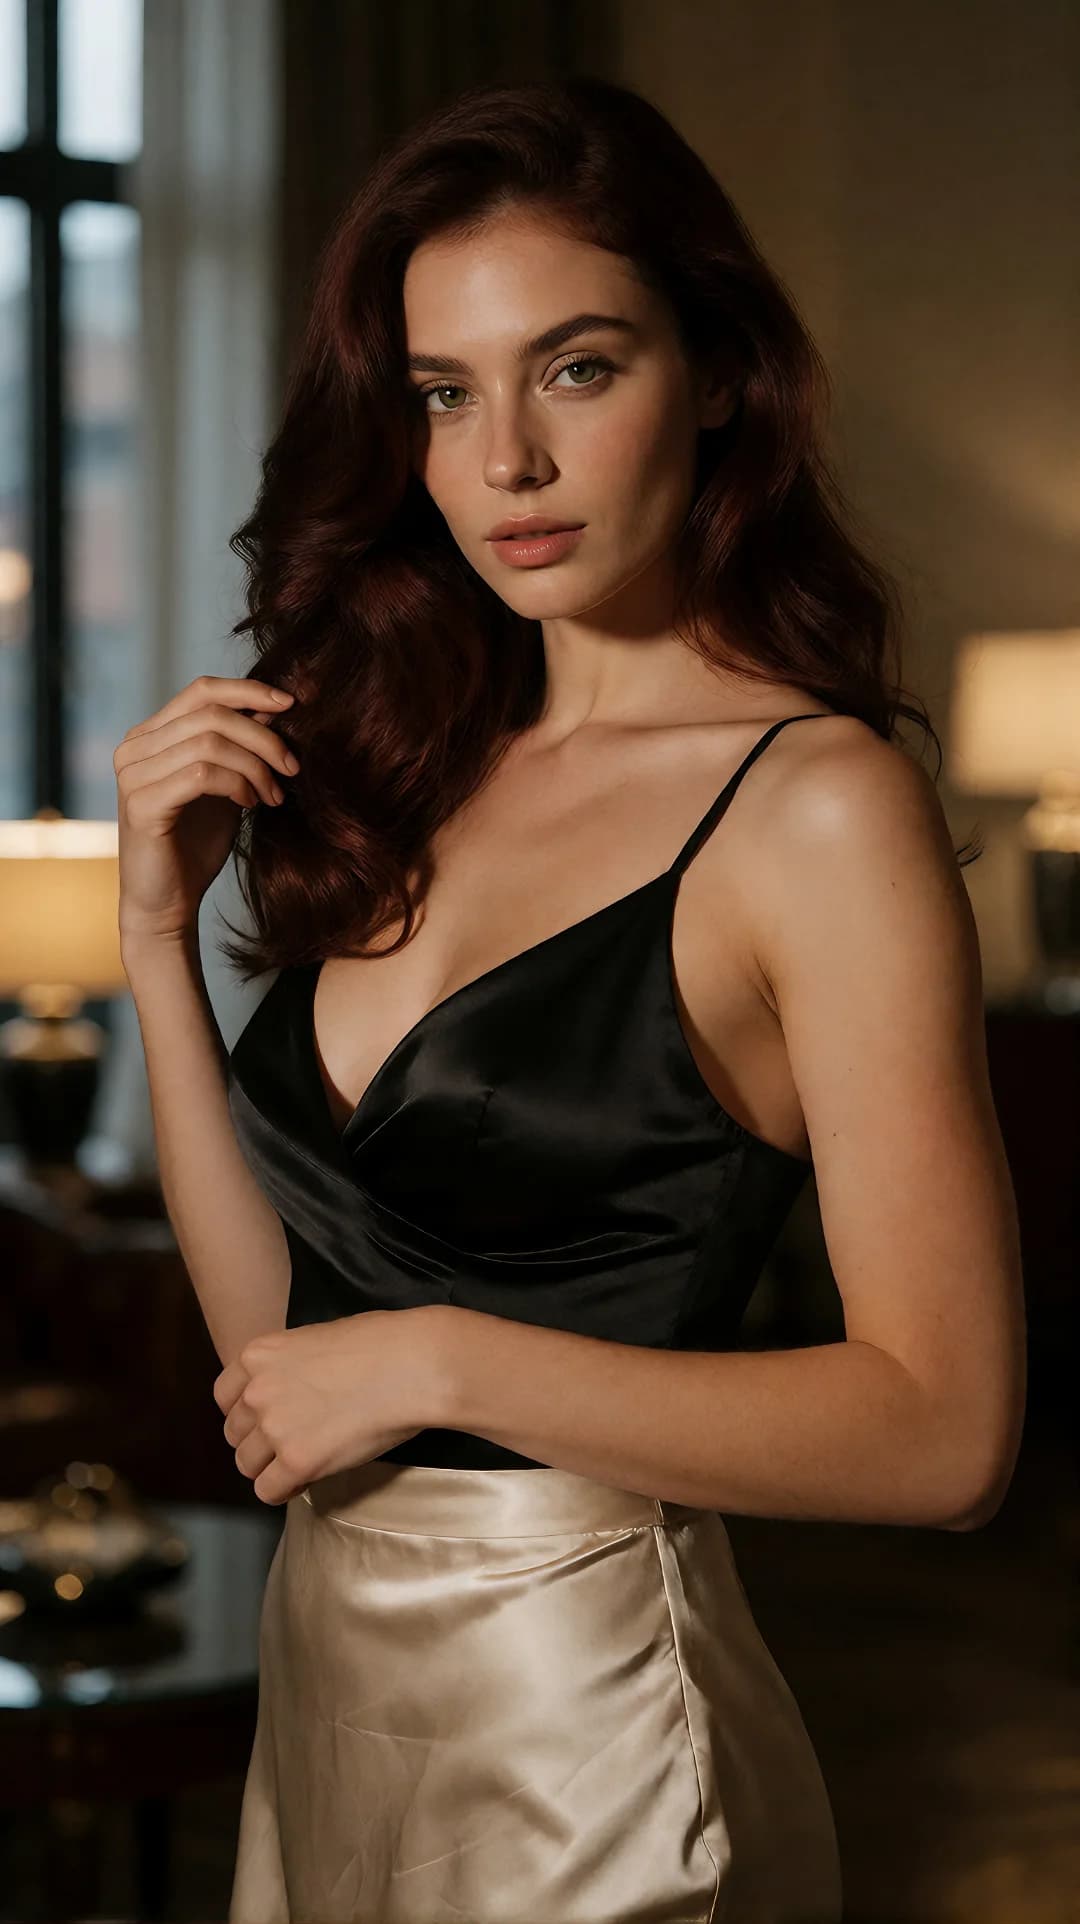
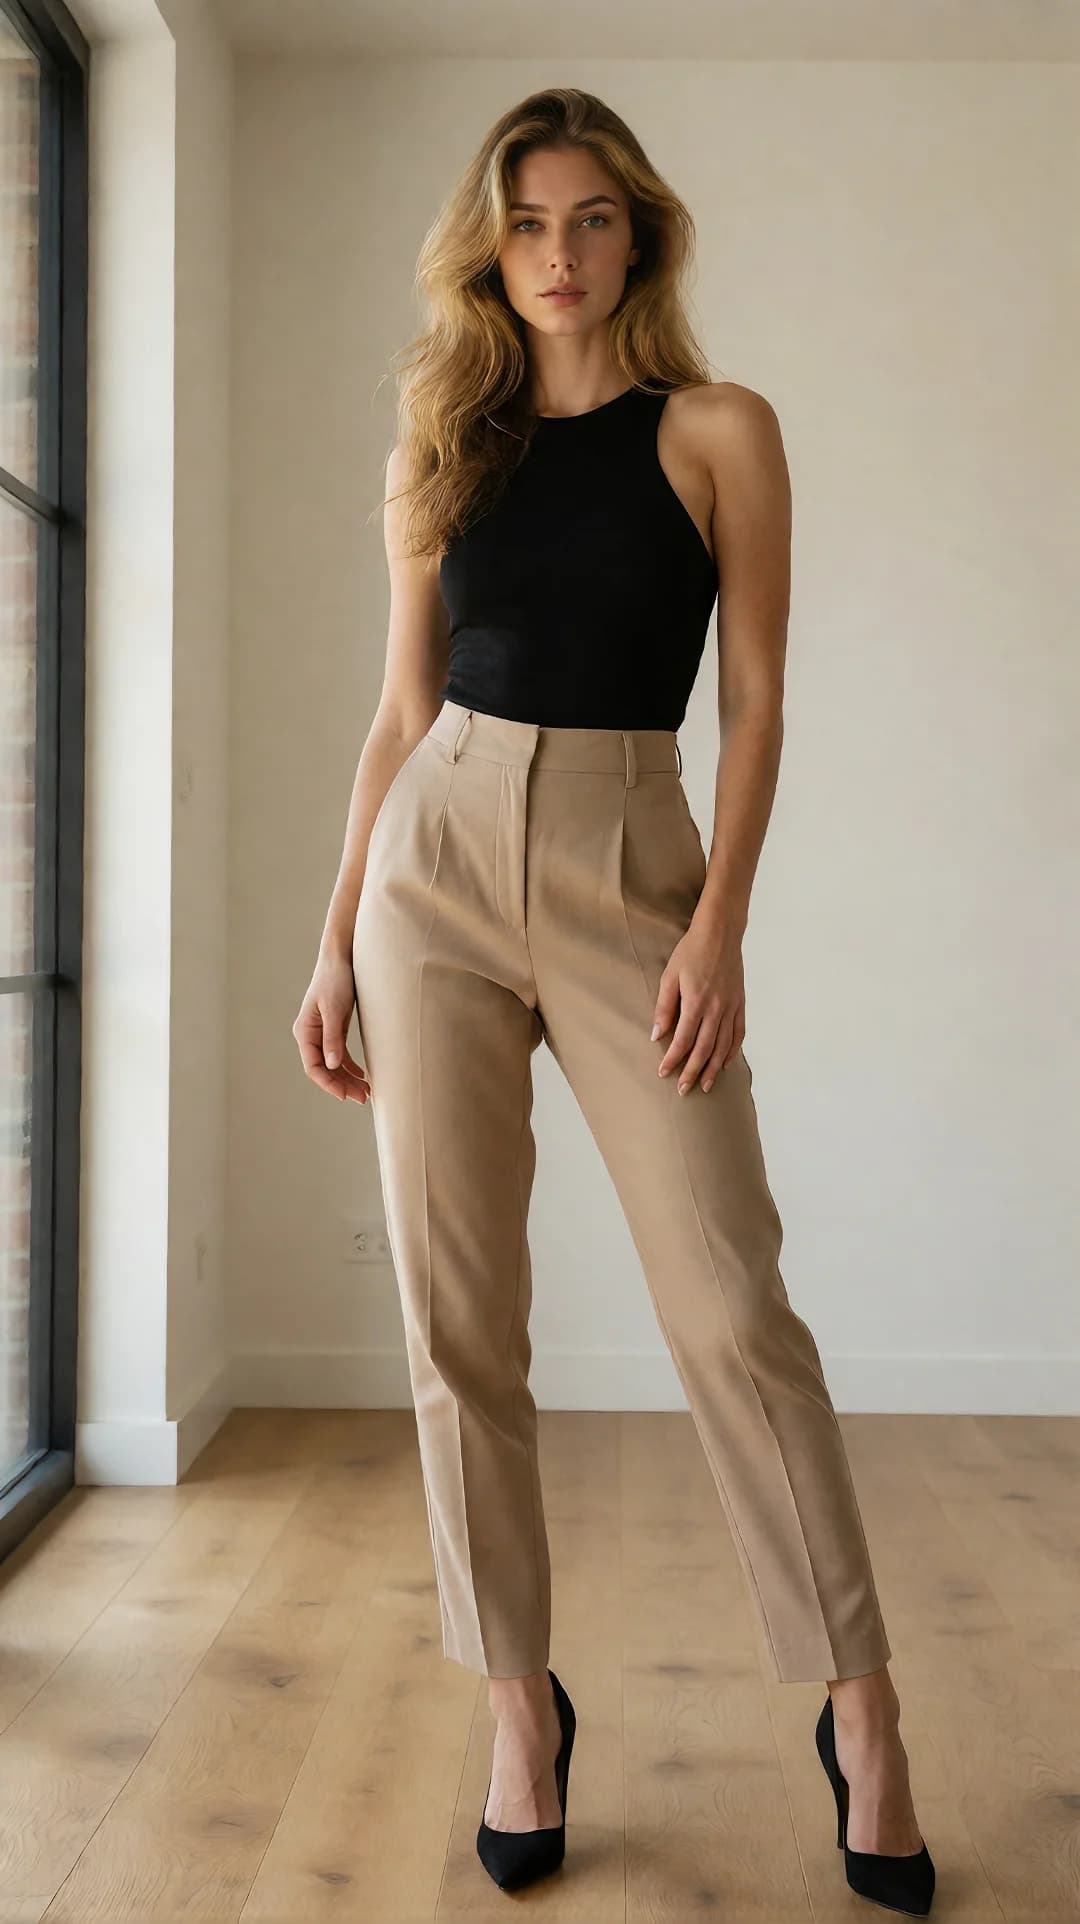
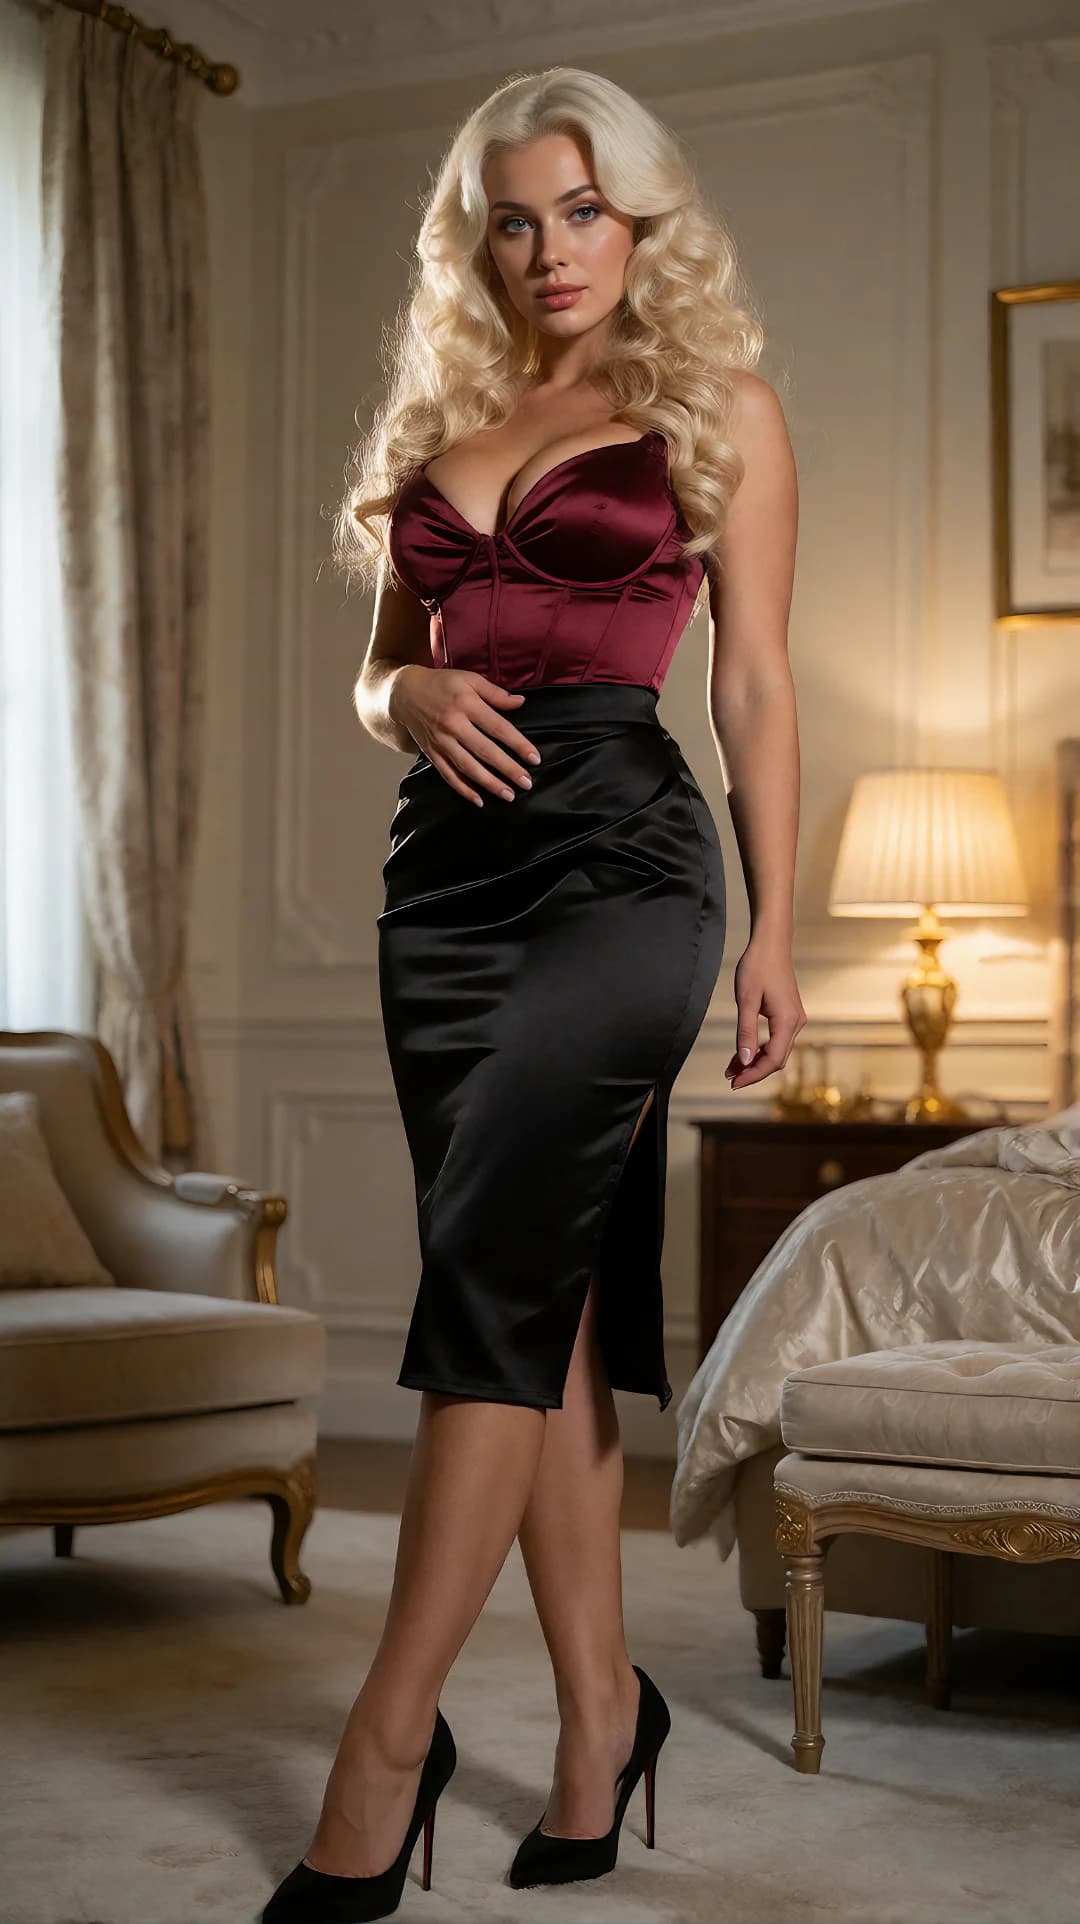
- Full-Body Test: Use a stable standing, seated, or reclining pose with visible hands and readable body boundaries. Check proportions, limb placement, framing, and whether the model preserves important styling details across the complete figure.
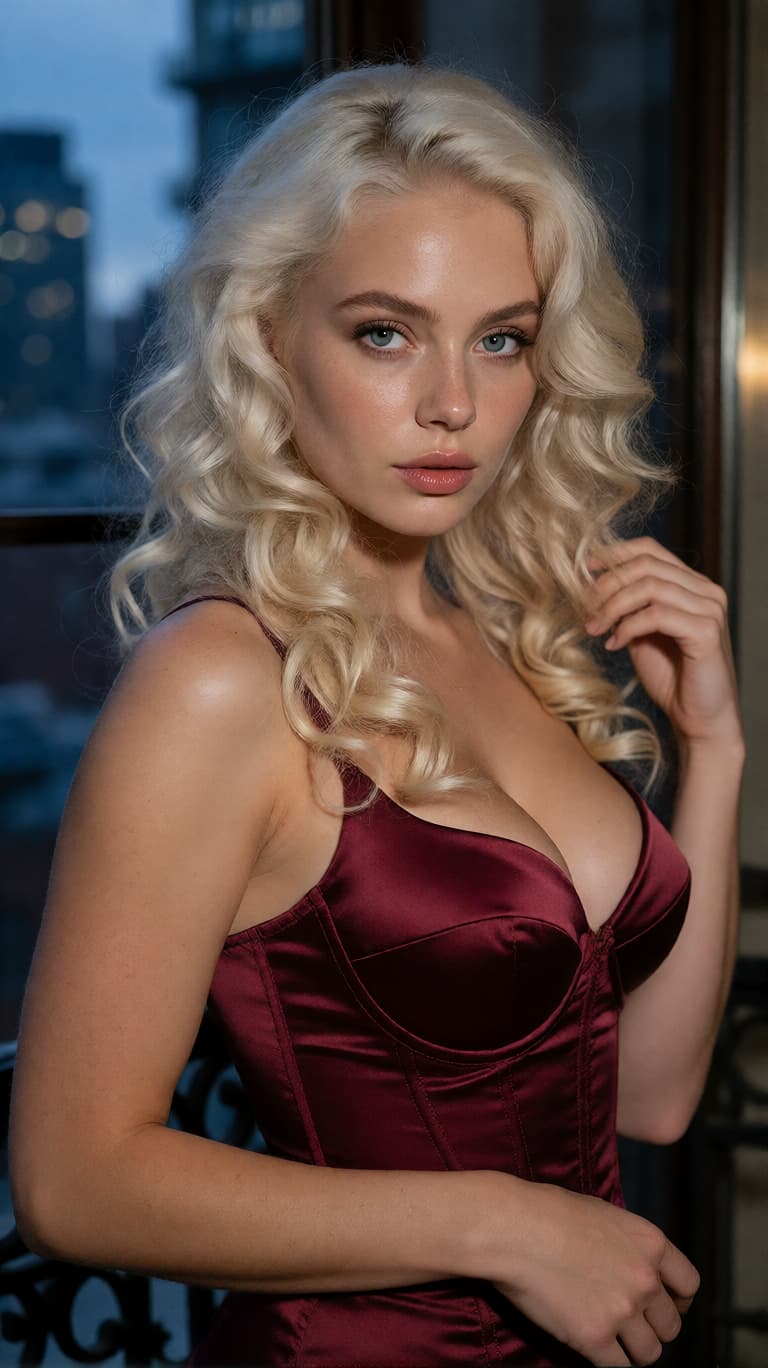
- Identity Variation Test: Keep the same character description but change one element, such as the environment, camera distance, or pose. The base-model result establishes how much identity drift appears before a character LoRA is introduced.
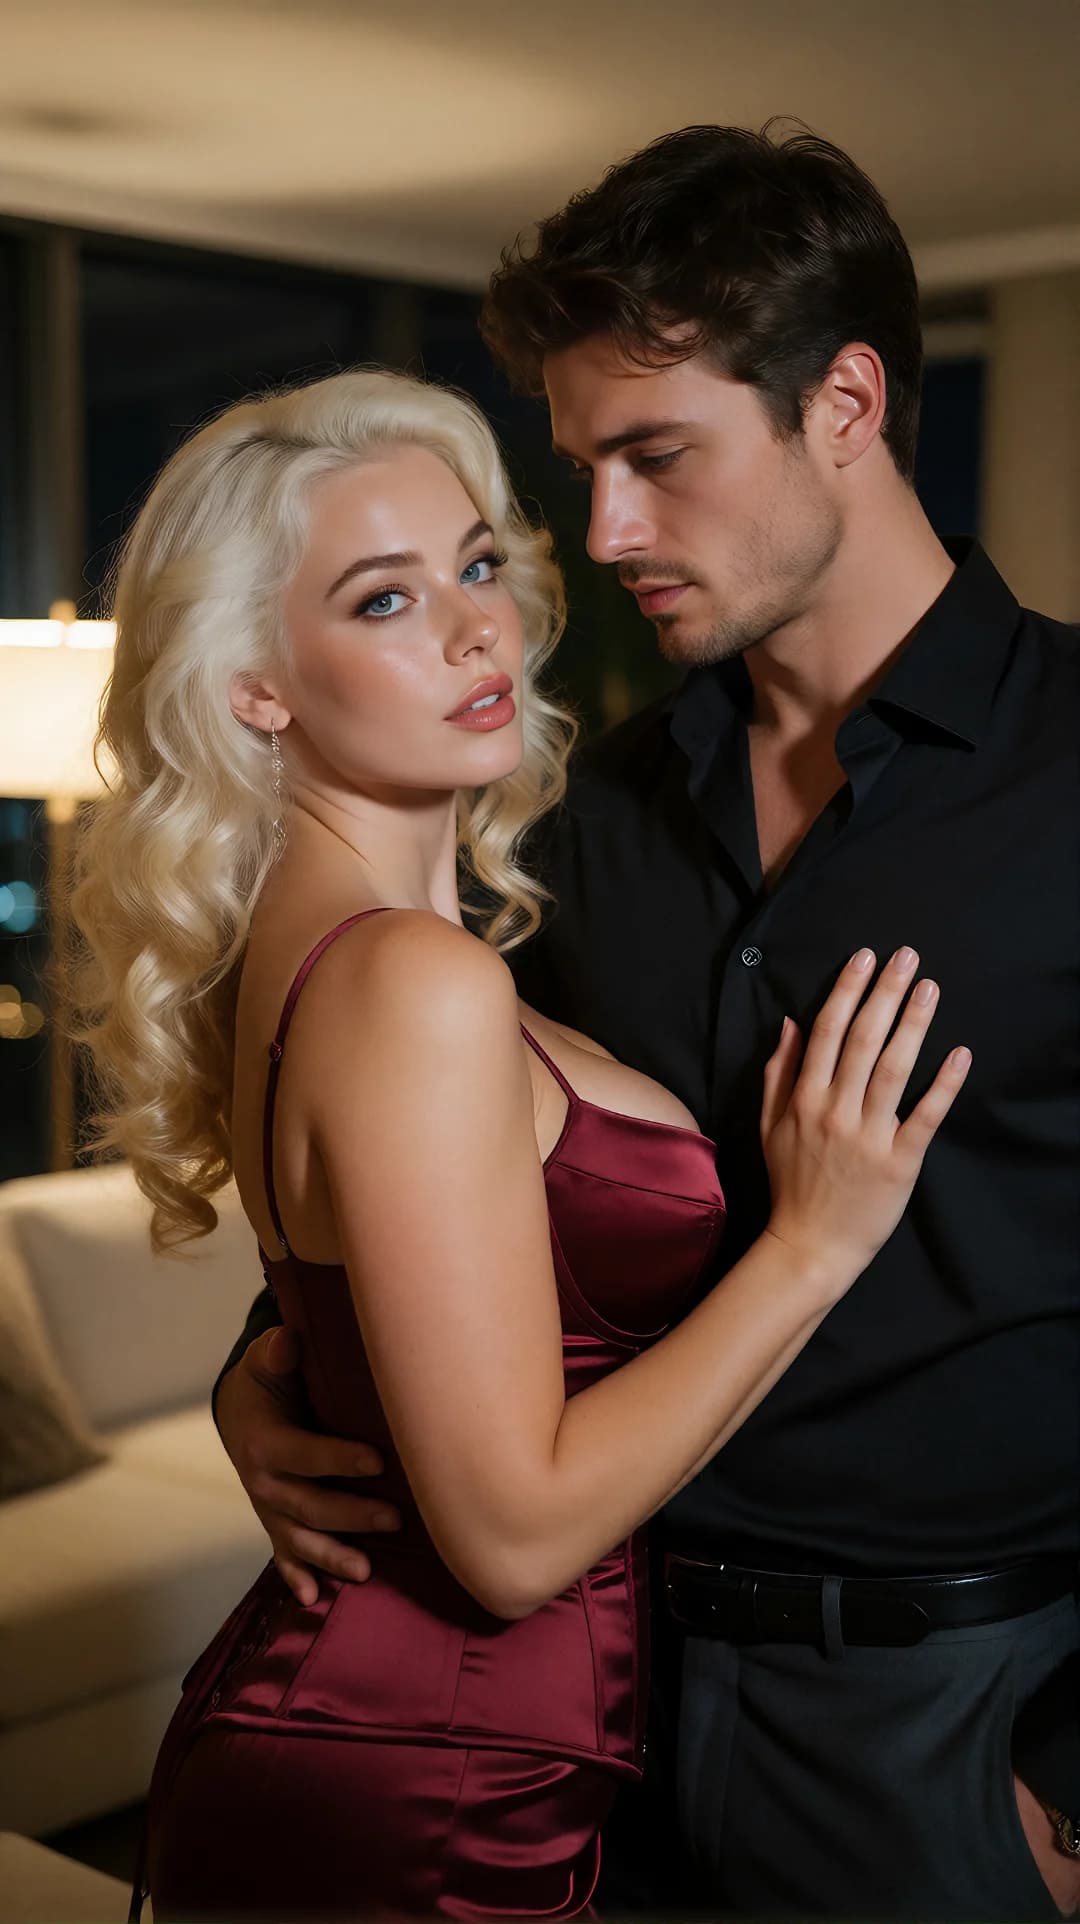
- Interaction Test: Add a second character and begin with one clear point of contact. Check whether the model separates the two bodies, preserves the requested positions, and handles hands, overlapping limbs, and partial occlusion.
Keep the model version, resolution, prompt structure, and workflow settings fixed. Record one seed for each scene so the same scene can be regenerated after a LoRA is added. This creates a direct comparison instead of two unrelated sets of images.
4. Add One LoRA and Compare the Same Four Scenes
Add only one character or realism LoRA, then regenerate the four scenes with the same prompts, seeds, resolution, and workflow settings.
Do not judge the LoRA only by whether the face looks more distinctive. Compare what improved and what became less controllable:
- Does the face remain more recognizable across close-up and full-body images?
- Does the model still follow the requested pose, framing, and environment?
- Does the LoRA pull every result toward the same expression, lighting, or composition?
- Does it work in portraits but lose identity when the camera moves farther away?
- Does stronger identity come with worse anatomy or reduced prompt adherence?
A LoRA can improve one part of the image while weakening another. For example, a character LoRA may strengthen facial identity but overfit to the poses or backgrounds in its training set. A realism LoRA may change skin texture while also altering lighting, facial features, or styling.
Change only one LoRA setting at a time. After the paired comparison, generate several additional seeds for each scene. If the improvement appears in only one image, it may be a favorable seed rather than a reliable workflow improvement.
A useful result is not simply the most attractive image in the batch. The workflow becomes dependable when the same configuration can produce several acceptable images without repeatedly losing the requested framing, facial identity, body structure, or visual direction. If only one seed succeeds while the rest fail in different ways, treat that output as an exception rather than proof that the setup is stable.
How to Evaluate Krea 2 Turbo Realism, Character Consistency, and Complex Poses
Realism is not created by adding photorealistic repeatedly. A believable image depends on whether the visual instructions agree with one another.
For a realistic result, inspect:
- Does the light have a clear direction?
- Does the skin retain variation instead of becoming uniformly smooth?
- Does the camera distance match the amount of visible detail?
- Do hair, fabric, furniture, and background objects share the same depth and lighting?
- Does the image resemble a plausible photograph rather than a heavily processed render?
Camera language can help when it describes a real visual choice. Lens distance, framing, depth of field, light source, color temperature, and environmental imperfections are more useful than a long stack of quality adjectives.
Character consistency requires a different test. Generate several images from the same approved identity reference or character LoRA, then compare stable features rather than expecting every image to be identical:
- Eye shape and spacing
- Nose and jaw structure
- Hairline and recurring hair details
- Body proportions
- Skin tone
- Distinctive accessories or styling
- Features that should survive a change of pose or camera distance
Complex poses are harder because the model must resolve joints, hidden anatomy, overlapping limbs, and contact points simultaneously. A prompt can describe the intended relationship, but it cannot provide visual information that the model never learned to reconstruct reliably.
When hands merge, limbs disappear, or two characters blend together, simplify the pose before changing the entire visual style. Clear separation between bodies, readable hands, fewer simultaneous actions, and a camera angle with less occlusion often provide a more useful diagnostic result.

Why Krea 2 Turbo Results Fail and What to Check First
A failed image does not automatically mean that the prompt needs more detail. The visible problem may come from the prompt, checkpoint, LoRA, pose, resolution, or difference between the online and local workflows.
Before changing anything, record the current seed, checkpoint, resolution, sampler, step count, prompt, and active LoRAs. This gives you a stable baseline. If several settings change at once, even an improved result will not reveal which adjustment fixed the problem.
When Important Prompt Details Are Ignored
If Krea 2 Turbo ignores the requested subject, action, or framing, first check whether the prompt contains competing instructions. A close-up portrait cannot also provide a clear full-body composition, and a fixed eye-level camera may conflict with a dramatic overhead view.
Shorten the prompt while keeping the subject, pose, framing, and environment. Move these essential instructions toward the beginning and temporarily remove broad quality terms such as “masterpiece,” “perfect body,” or repeated variations of “highly detailed.”
Generate again with the same seed and settings. If the missing detail returns, the original prompt was probably overloaded or internally inconsistent. If the same instruction continues to be ignored, the request may exceed what that checkpoint, composition, or pose can produce reliably.
When Skin, Anatomy, or Character Identity Looks Wrong
Plastic-looking or excessively rough skin can come from conflicting photographic language, an aggressive style LoRA, or too many texture instructions. Test the same prompt with the base model and no LoRA. If the skin becomes more natural, restore the style components one at a time until the unwanted texture returns.
Malformed hands and limbs usually require a different test. Reduce the difficulty of the pose, make the hands visible, separate overlapping bodies, or choose a camera angle with less occlusion. Adding more anatomy keywords rarely repairs a composition that requires the model to reconstruct several hidden body parts at once.
When the character’s identity changes, compare close-up, medium, and full-body generations separately. A character may remain recognizable in portraits but drift when the face occupies fewer pixels. If the problem appears only after adding a LoRA, reduce its influence and inspect whether its training images include enough facial angles, framing distances, and body views. If the identity changes even without the LoRA, simplify the prompt and composition before adjusting the character workflow.
When a LoRA Has Little Effect or Several LoRAs Conflict
A LoRA that produces almost no visible change may be incompatible with the selected model family, loaded through the wrong workflow component, assigned too little influence, or missing any activation language required by its creator.
Test it alone before combining it with another character, realism, pose, or style LoRA. Keep the seed, prompt, checkpoint, and resolution fixed so the LoRA is the only new variable. Compare the result with the same generation made from the base model.
When several LoRAs are active, one may strengthen a visual feature while another weakens or replaces it. Test each LoRA independently, then combine them one at a time. If the failure appears only after a particular combination, the problem is more likely competing identity or style influence than the underlying Krea 2 Turbo checkpoint.
When Resolution or Local Settings Change the Result
A composition that works at one resolution may change when generated directly at a much larger size. The subject can move within the frame, body proportions may shift, or background elements may receive more visual weight. Return to the original resolution, approve the composition there, and upscale only after the core image is stable.
Online and local outputs should not be treated as identical tests simply because both are associated with Krea. The two routes may use different model variants, prompt enhancement, seeds, workflow settings, classifiers, or platform-level processing.
To compare them meaningfully, verify as many shared conditions as possible: model version, prompt, aspect ratio, resolution, seed behavior, and whether prompt enhancement is active. A visible difference does not automatically prove that one route is better; it may mean the two systems are not processing the same input under comparable conditions.
Use a Fixed Diagnostic Order
Krea 2 Turbo is a distilled model, so adding many more inference steps does not turn it into Krea 2 RAW or guarantee a better image. Changing the sampler, LoRA, text encoder, prompt, and resolution together also makes the source of an improvement impossible to identify.
Use the same order whenever a result fails:
- Return to the last stable checkpoint and settings.
- Test a shorter prompt with no optional LoRAs.
- Confirm the basic subject, pose, and framing.
- Add one LoRA or style component.
- Test higher resolution only after the composition is stable.
- Change one remaining variable per generation.
The fastest workflow is usually not the one that changes the most settings. It is the one that makes each test explain what failed and what should be adjusted next.
Should You Use Krea 2 Turbo for NSFW Image Generation?
Krea 2 Turbo is worth considering when you want fast local image iteration, understand model-based workflows, and need control over compatible LoRAs, stored files, or repeatable settings.
It is less suitable when you want a simple browser generator, have limited hardware, do not want to manage model files, or expect the official checkpoint to behave like a dedicated uncensored AI image generator. It should also not be chosen solely because it is local. Output quality, prompt response, safety behavior, installation cost, and maintenance all affect the real experience.
The strongest reason to use it is not “no rules.” It is the ability to build and inspect a controlled image workflow around an open-weight model.
A Simpler Alternative: Create and Animate NSFW Images Without Local Setup
Running Krea 2 Turbo locally offers more control, but it also requires large model files, suitable hardware, a compatible workflow, and ongoing troubleshooting. That level of setup may not be worthwhile if your main goal is simply to create an image and turn it into a short video.
AINSFW.AI provides a browser-based alternative without local checkpoint deployment. Create a starting visual with the NSFW AI Image Generator, or upload an image you already own or are authorized to use. Once the image is ready, open the NSFW Image-to-Video Generator to add motion and create a short clip.
AINSFW.AI is not presented here as a local Krea 2 Turbo installation. It is a simpler route for creators who want to move from an image idea to video without managing the underlying model infrastructure.
Krea 2 Turbo FAQ
Can Krea 2 Turbo Run in ComfyUI?
Yes. Krea 2 Turbo workflows are available for ComfyUI, but you still need compatible model files, a supported ComfyUI version, sufficient memory, and the required text encoder and VAE. For most users, the official FP8 workflow is the most practical starting point.
How much VRAM does Krea 2 Turbo need?
There is no single requirement for every configuration. BF16, FP8 and other quantized variants use different amounts of memory. Resolution, offloading, batch size, text-encoder placement, and the selected application also change the total requirement.
Does Krea 2 Turbo Support LoRAs?
Yes. Krea 2 supports LoRA-based customization, but the recommended workflow is to train the LoRA on Krea 2 RAW and use it with Krea 2 Turbo for faster generation. Results still depend on the training images, LoRA strength, prompt, checkpoint format, and whether the local workflow loads the LoRA correctly.
Can Krea 2 Turbo generate AI videos?
No. Krea 2 Turbo is a text-to-image model. A generated still can be transferred to a separate image-to-video model through Krea Video, AINSFW.AI, or another compatible video workflow.